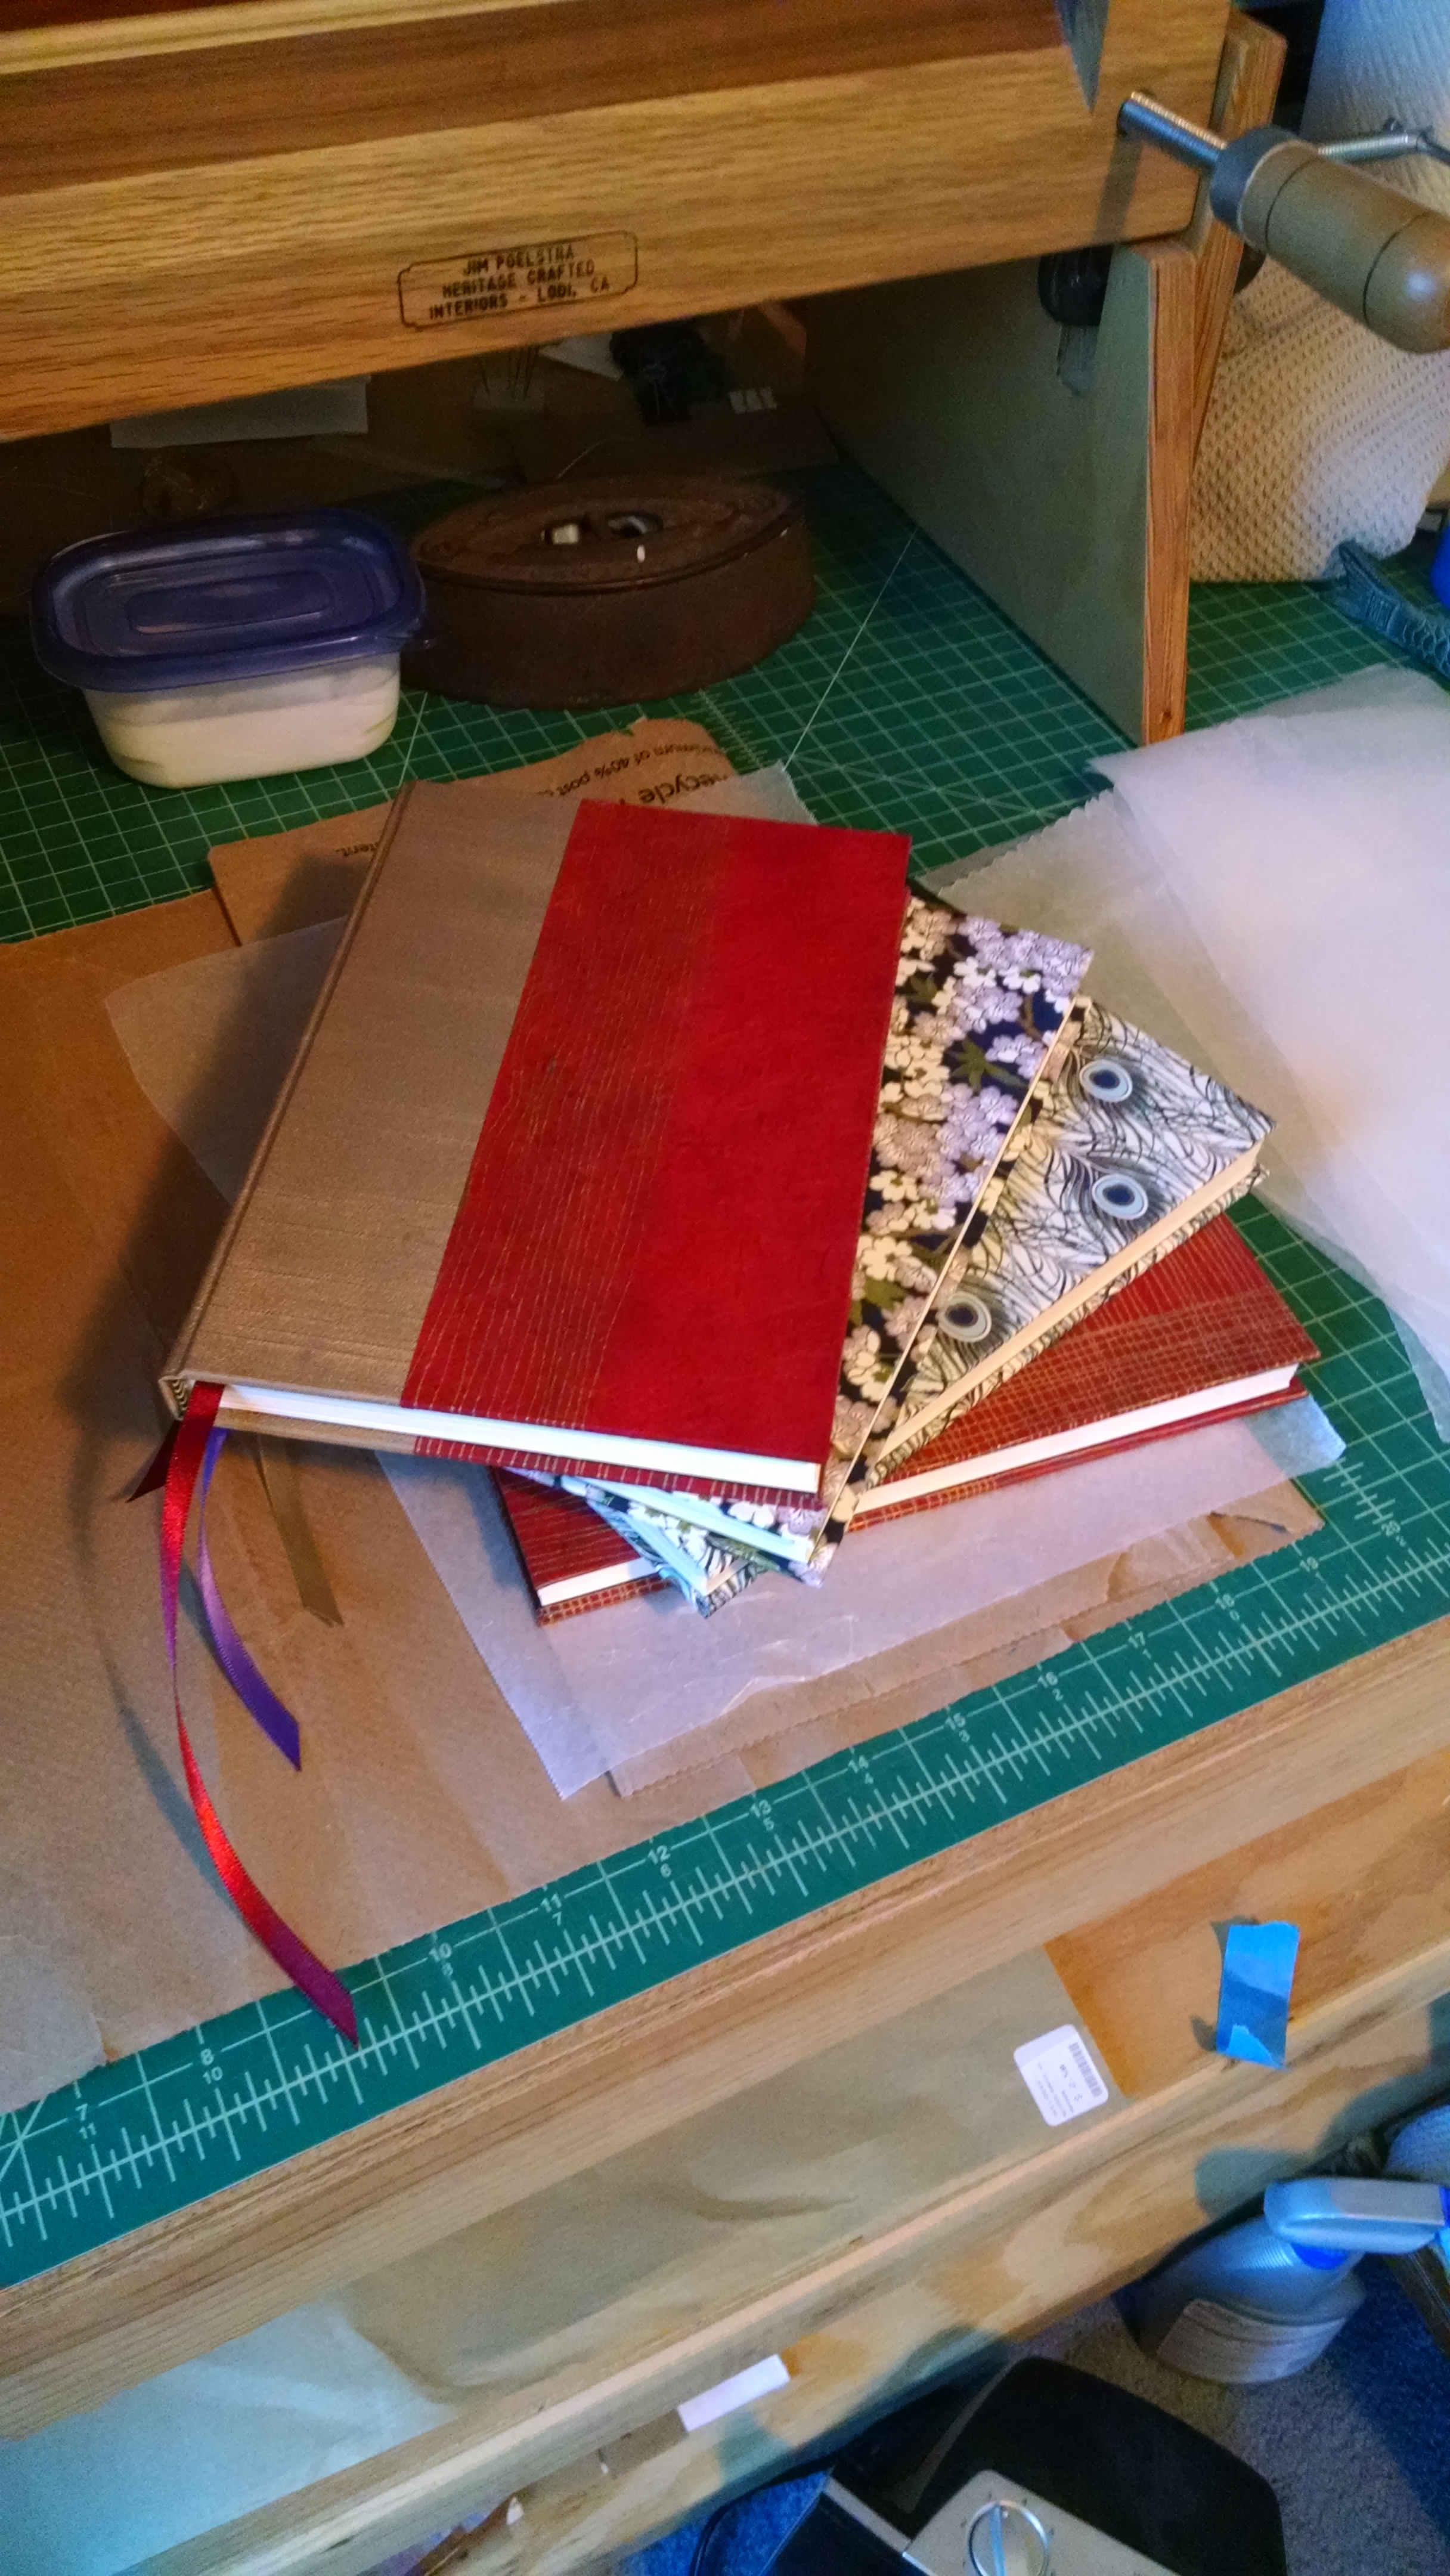
One of my favorite things is taking books out of the press the morning after I case them in. Once I remove the various protective pieces of waxed paper and the brass rods to shape the shoulders, they are all finished and look sweet!
These will be listed on my Etsy soon, and will also be available at the New Girl in Town Mini-Expo this weekend in Portland, Oregon!
I took Bookbinding 2 at the San Francisco Center for the Book over the weekend, and had a great time! I made two new books and learned some new techniques. Check it out:
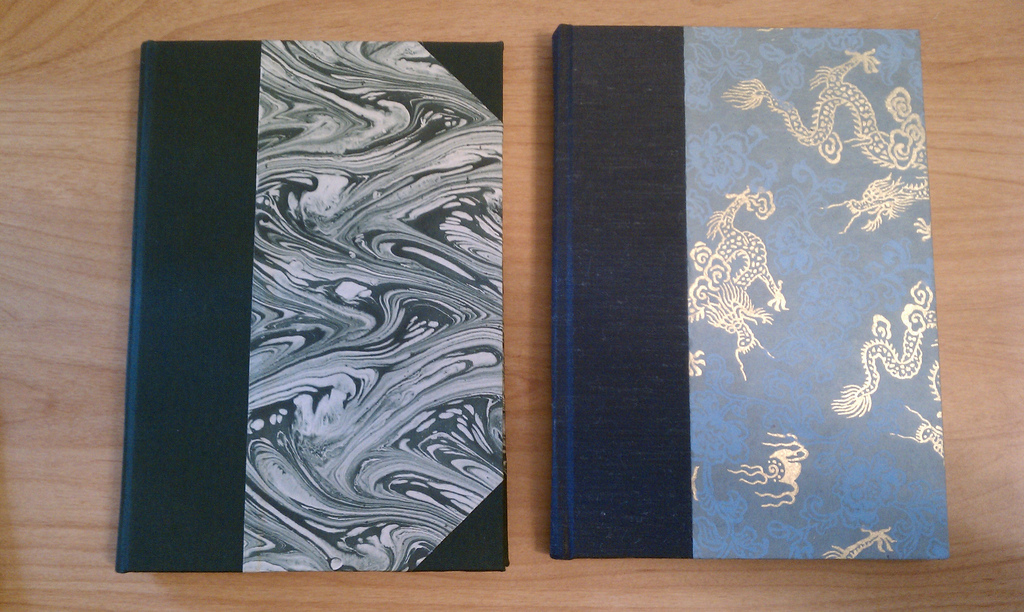
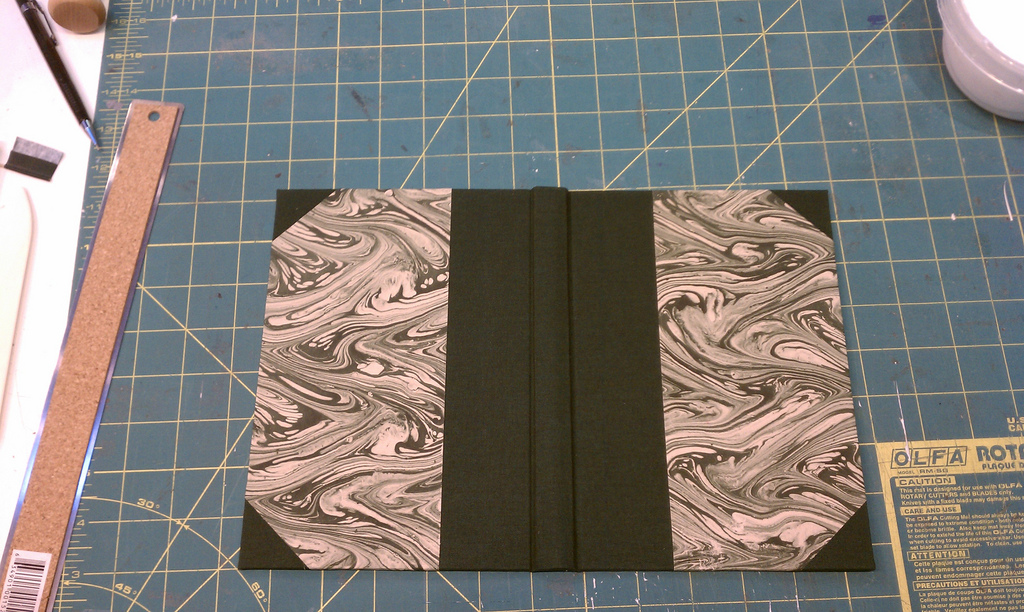
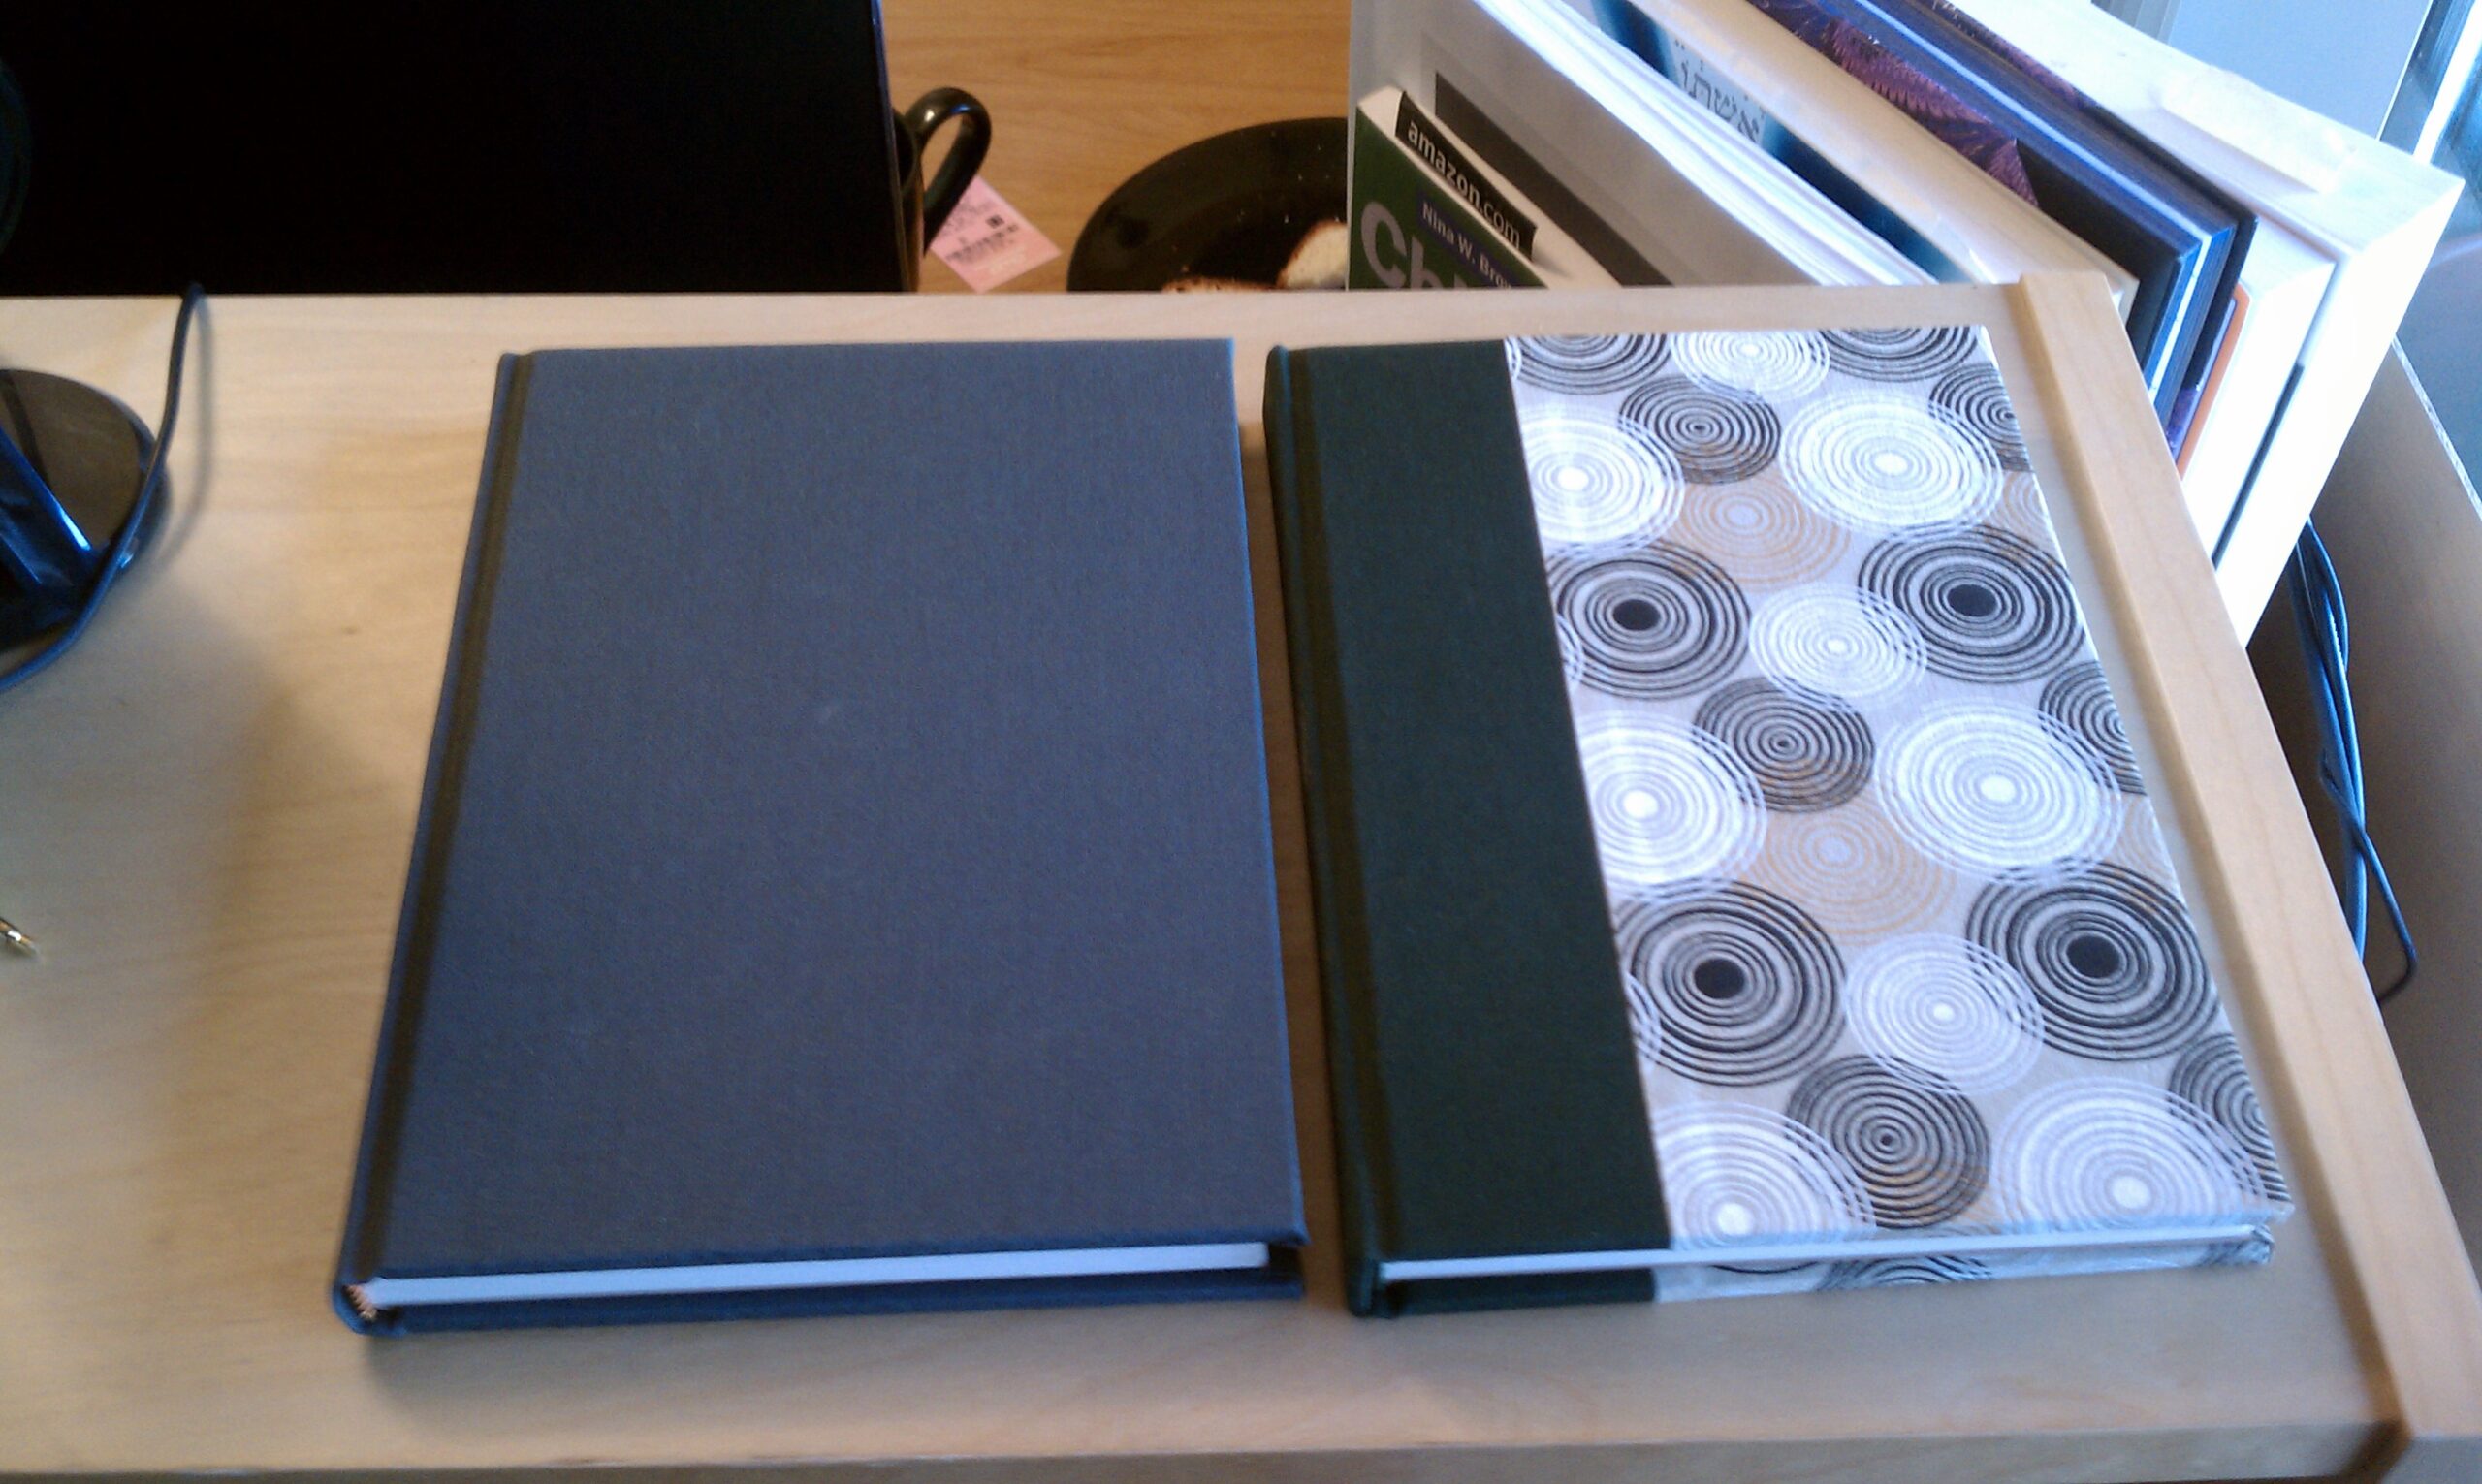
The Finished Product
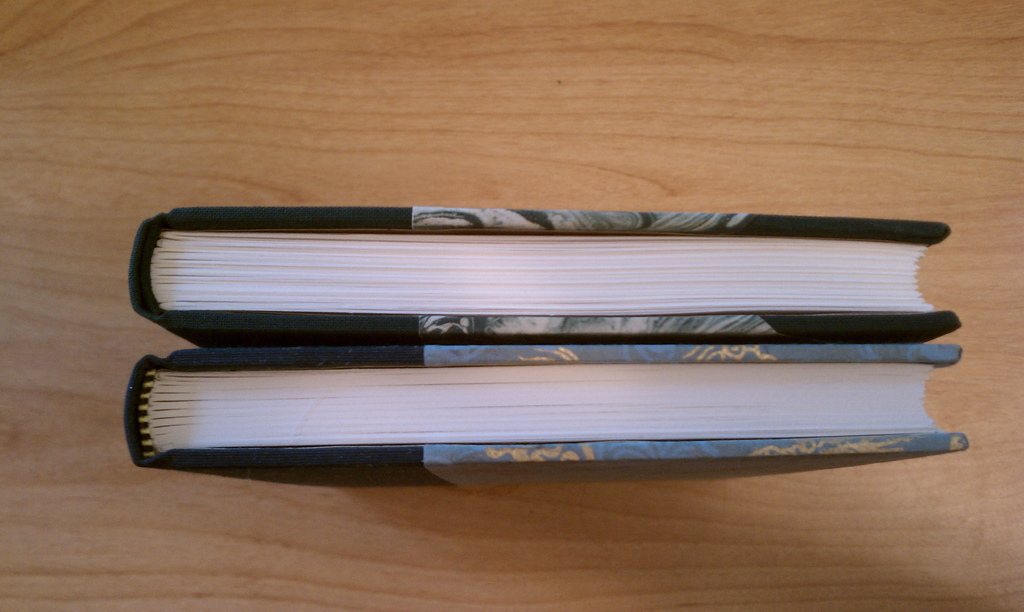
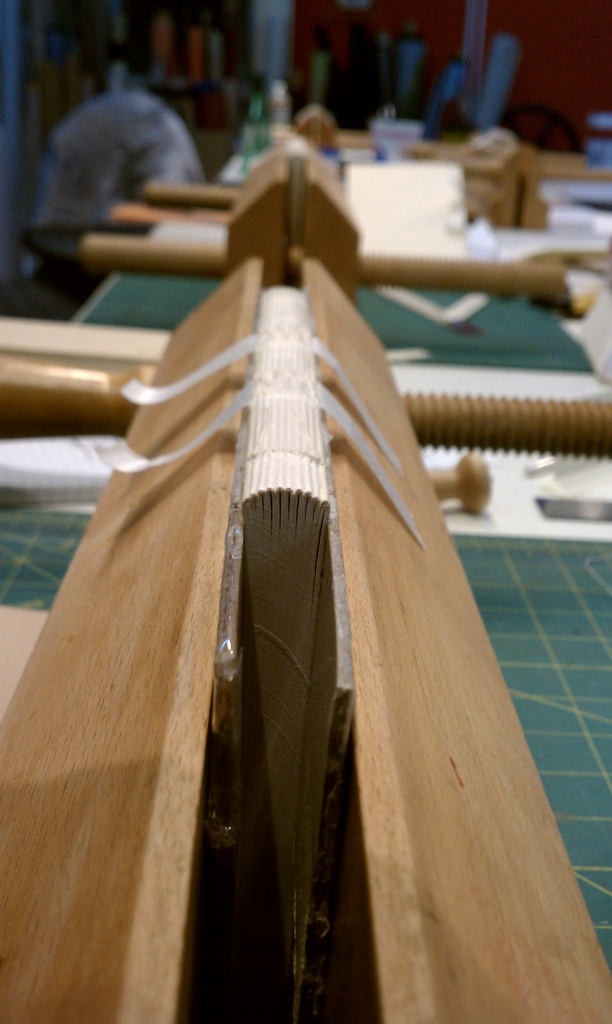
Check out the rounded spines.
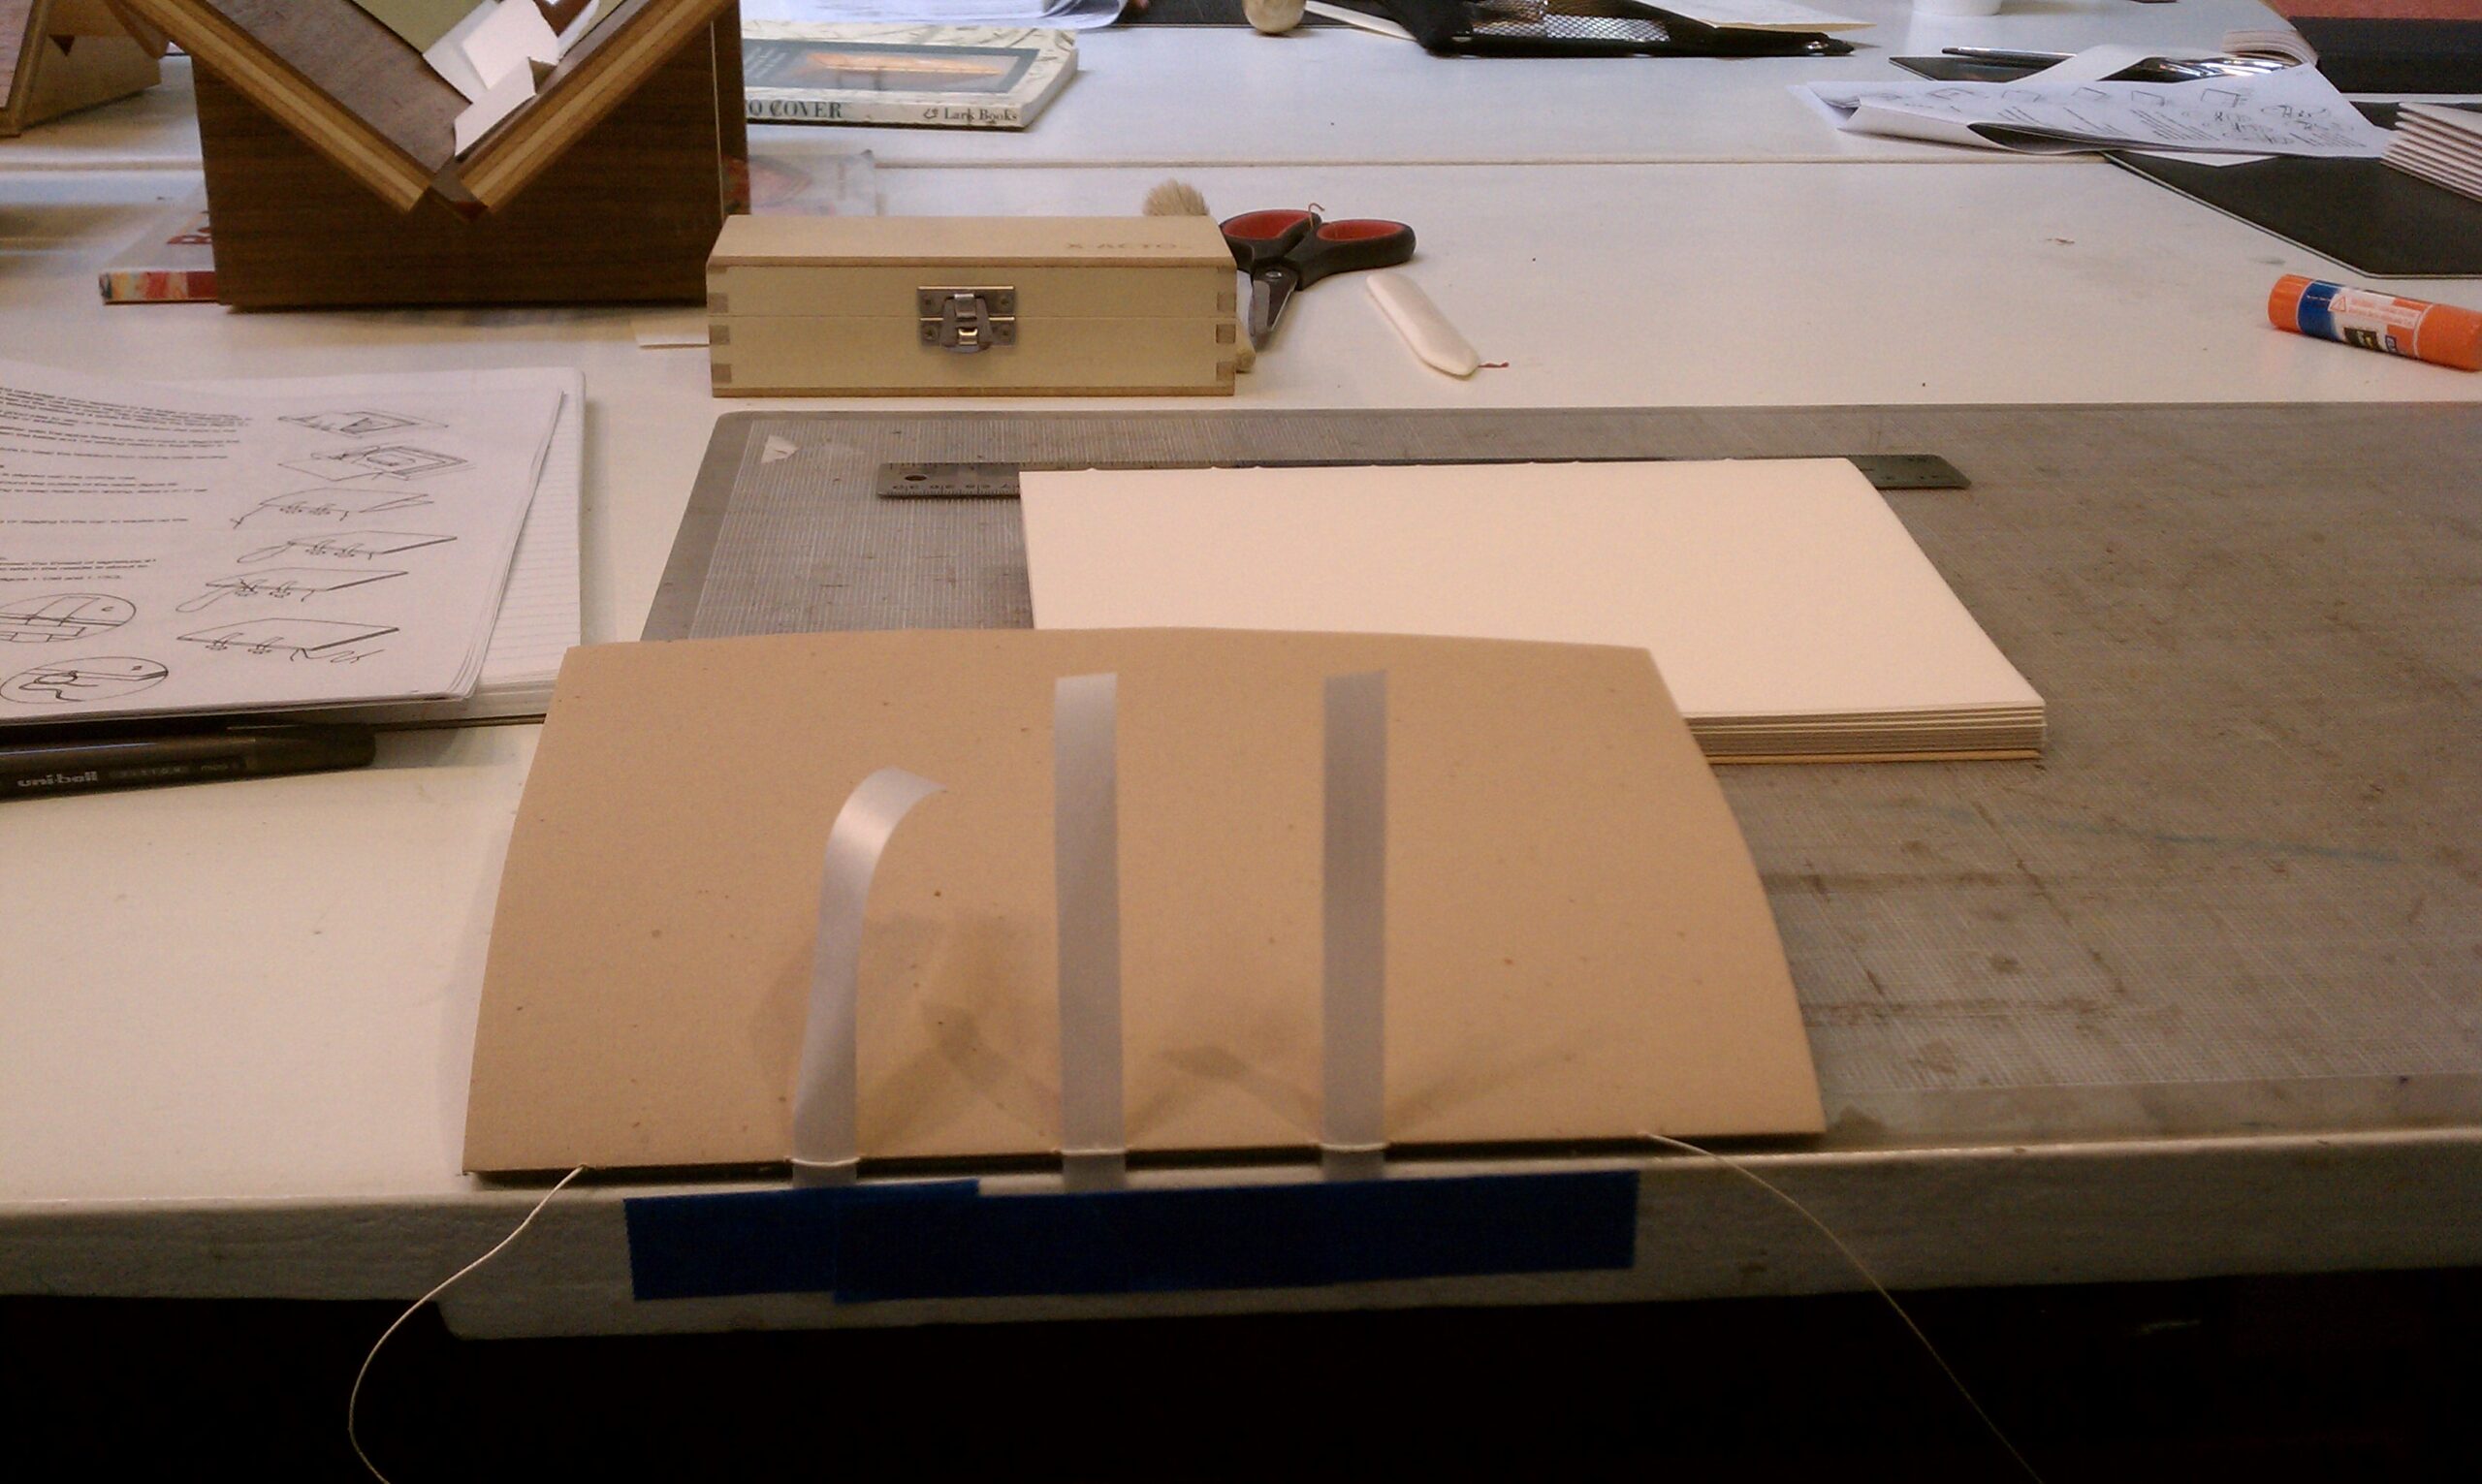
Paper just glued into place. The tape is used as a guide so I put the paper on straight
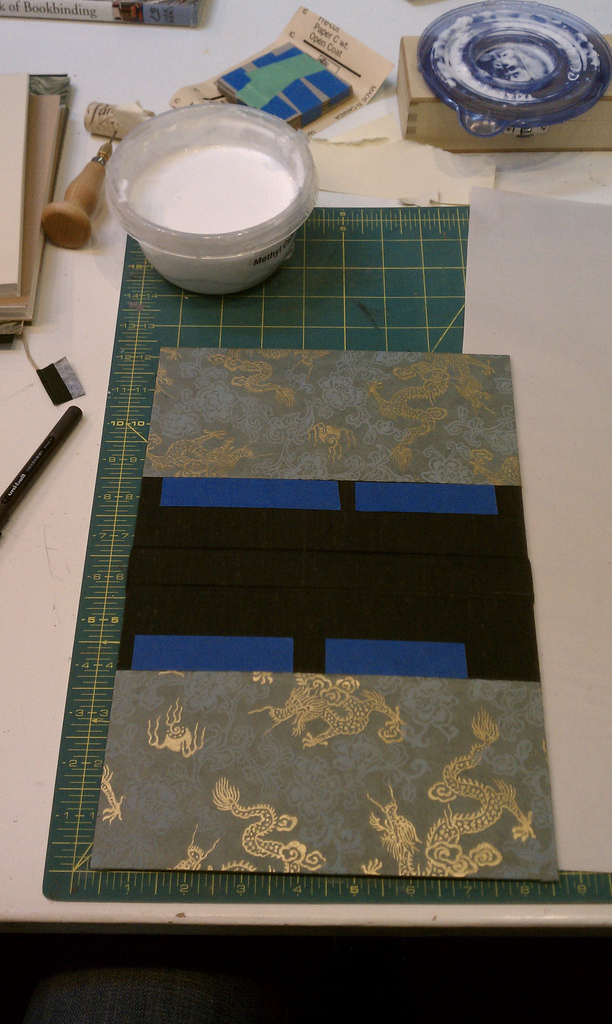
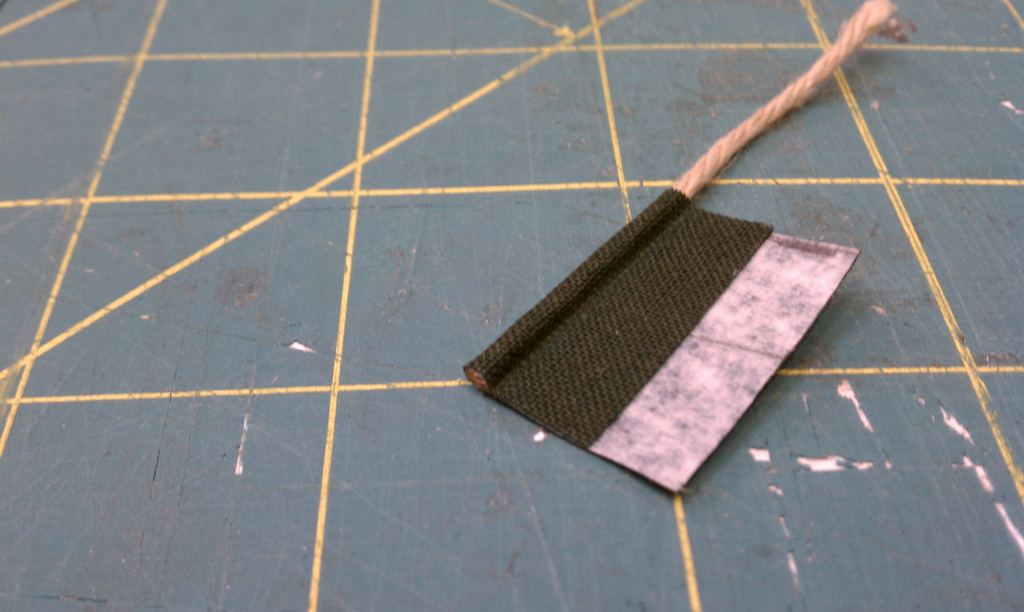
Cover materials for the other book. As usual, I hunted for a coordinating endband.
Paper glued into place.
This cover is ready for the text block!
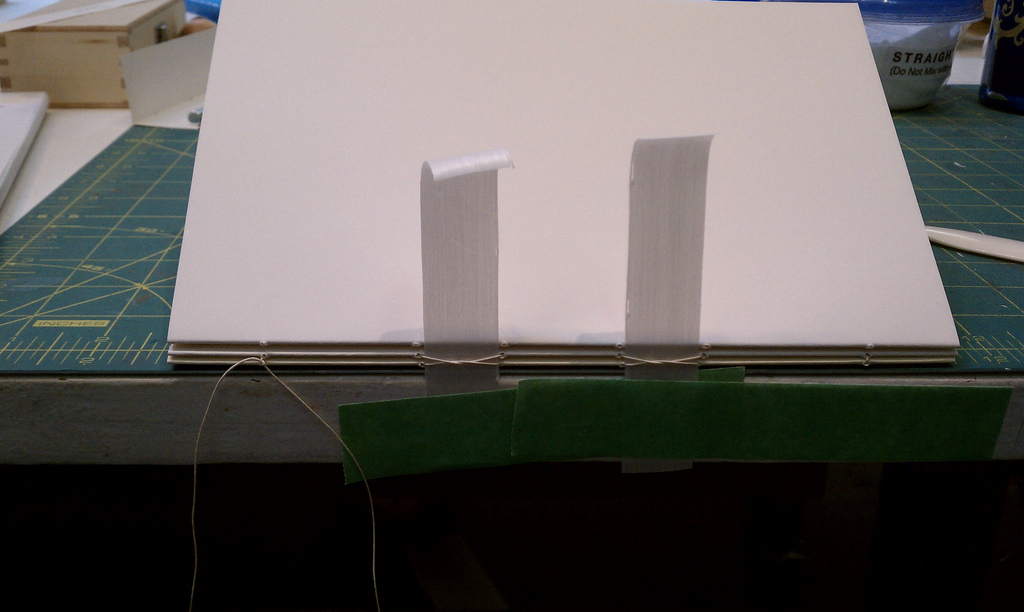
Ready for the paper – inside view
Ready for the paper!
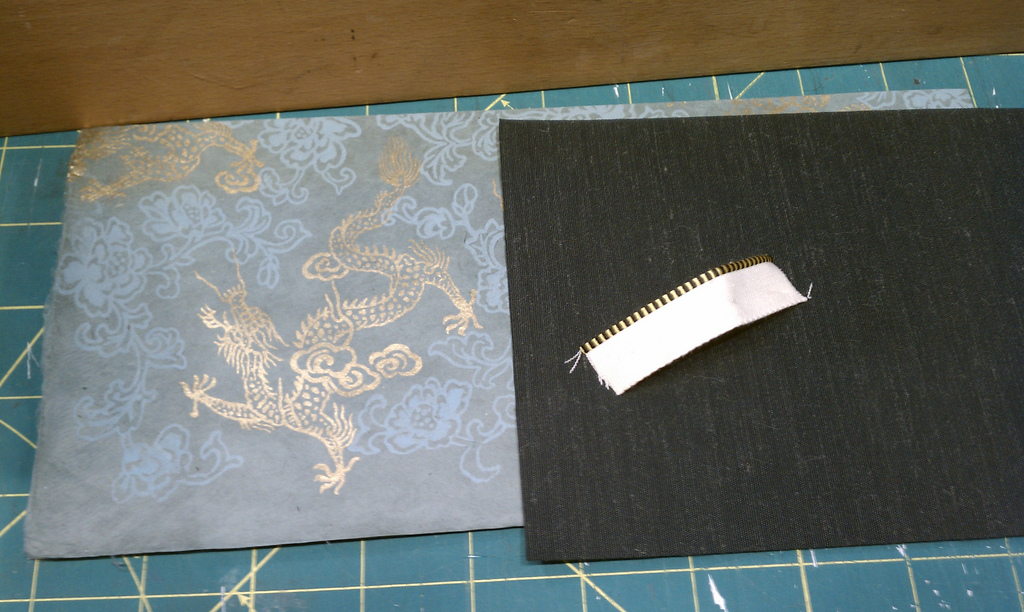
Custom endband in place
Made my own matching endbands for one book!
Ready for assembly!
Back in the press after some rounding work
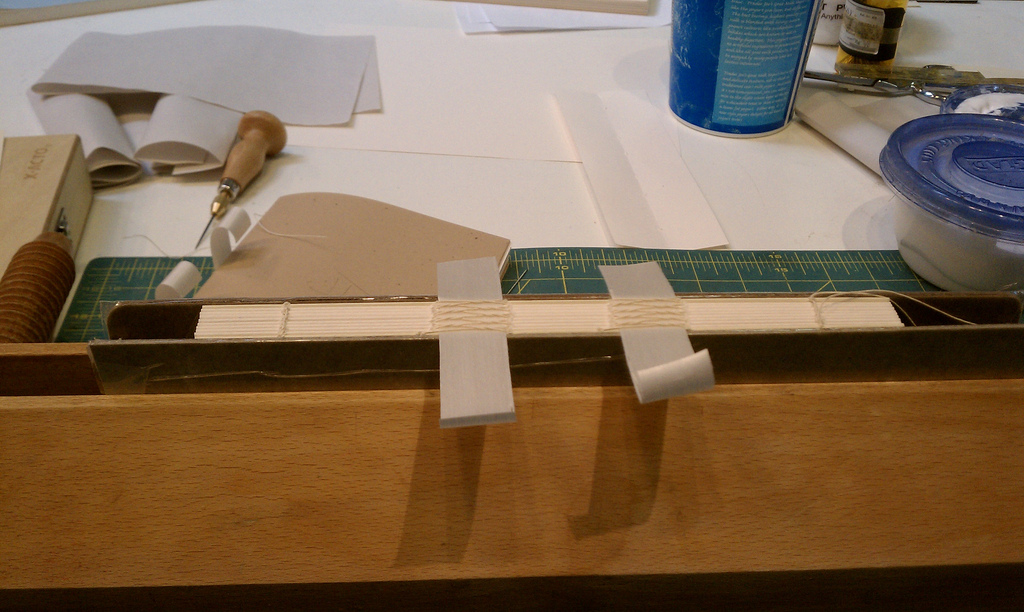
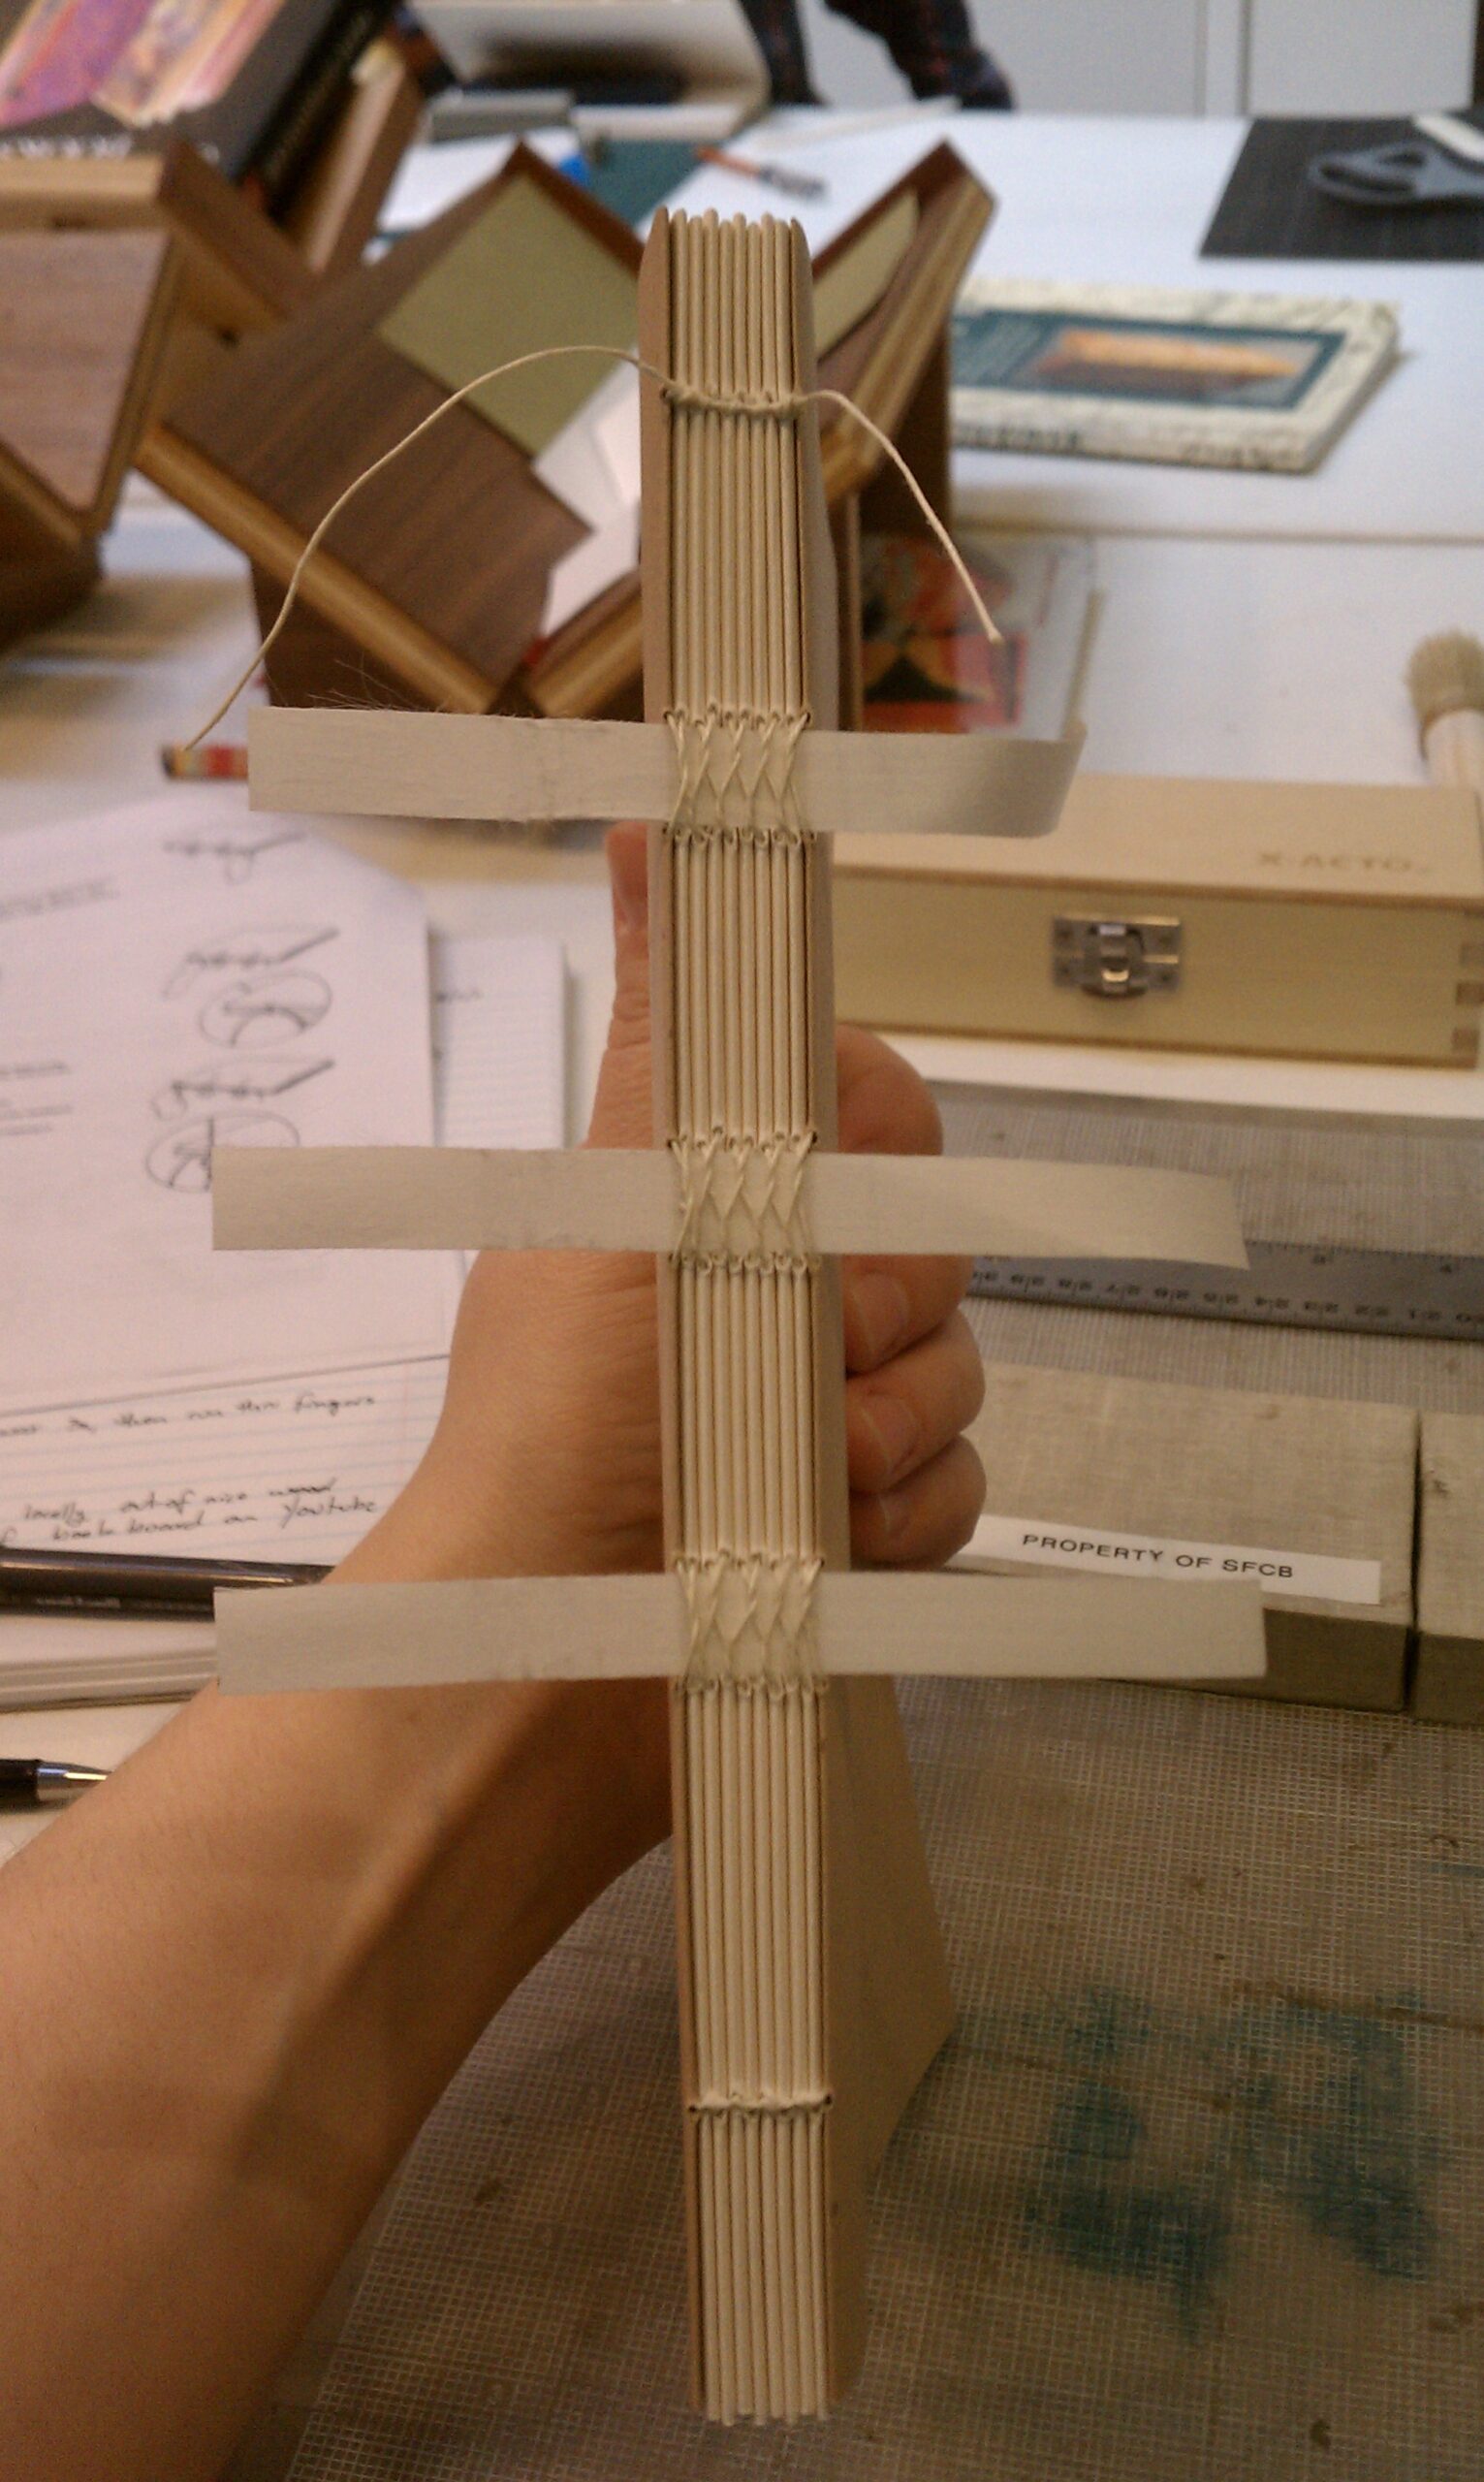
Stitching the signatures — still my favorite part.
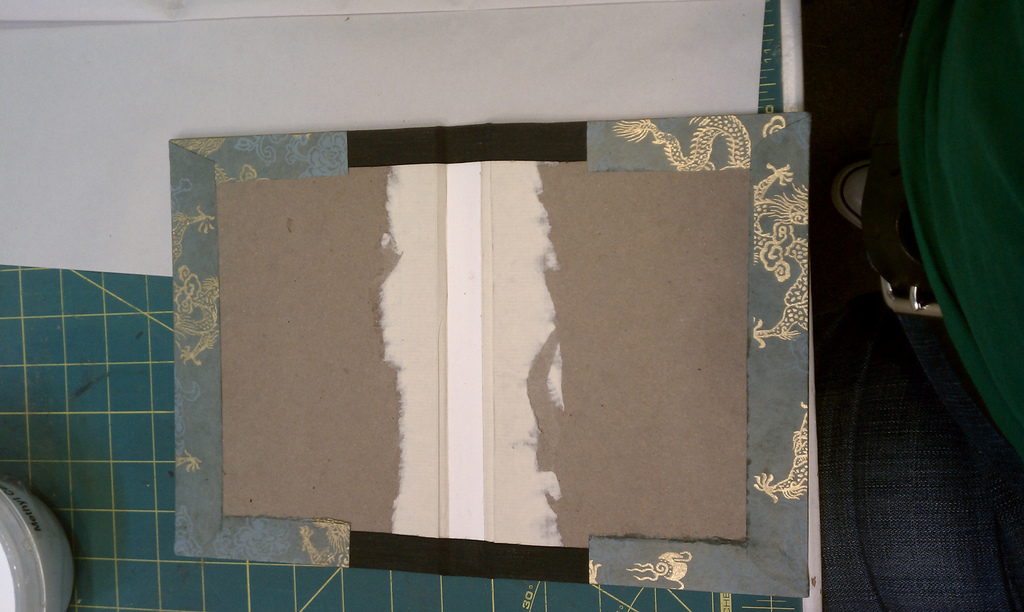
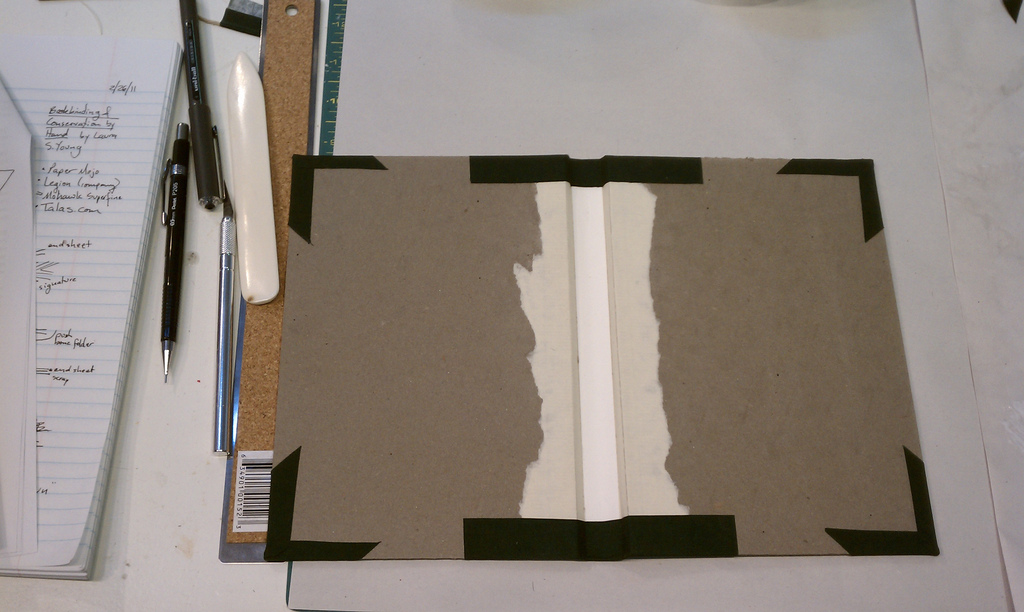
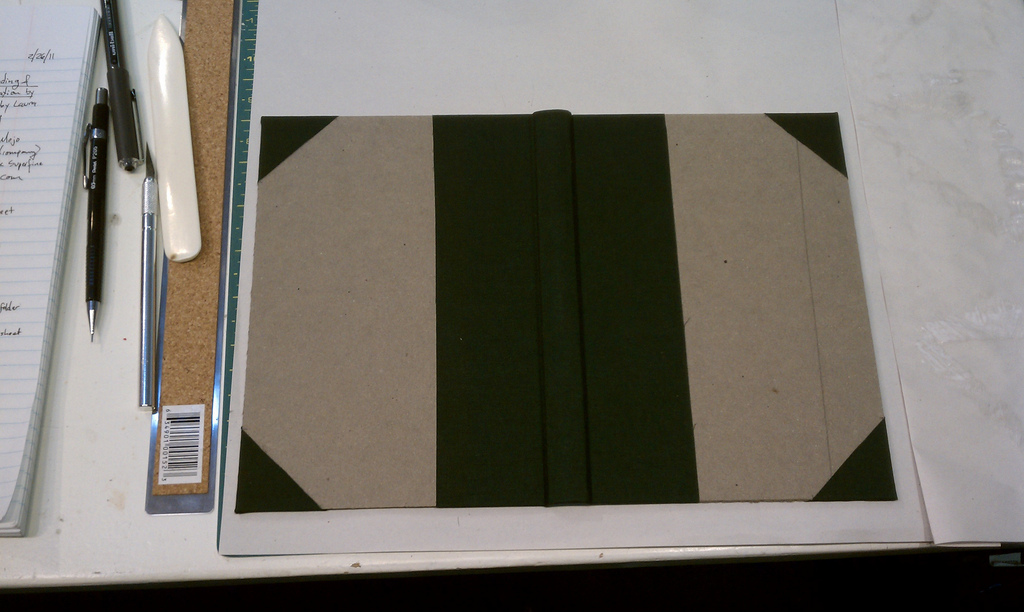
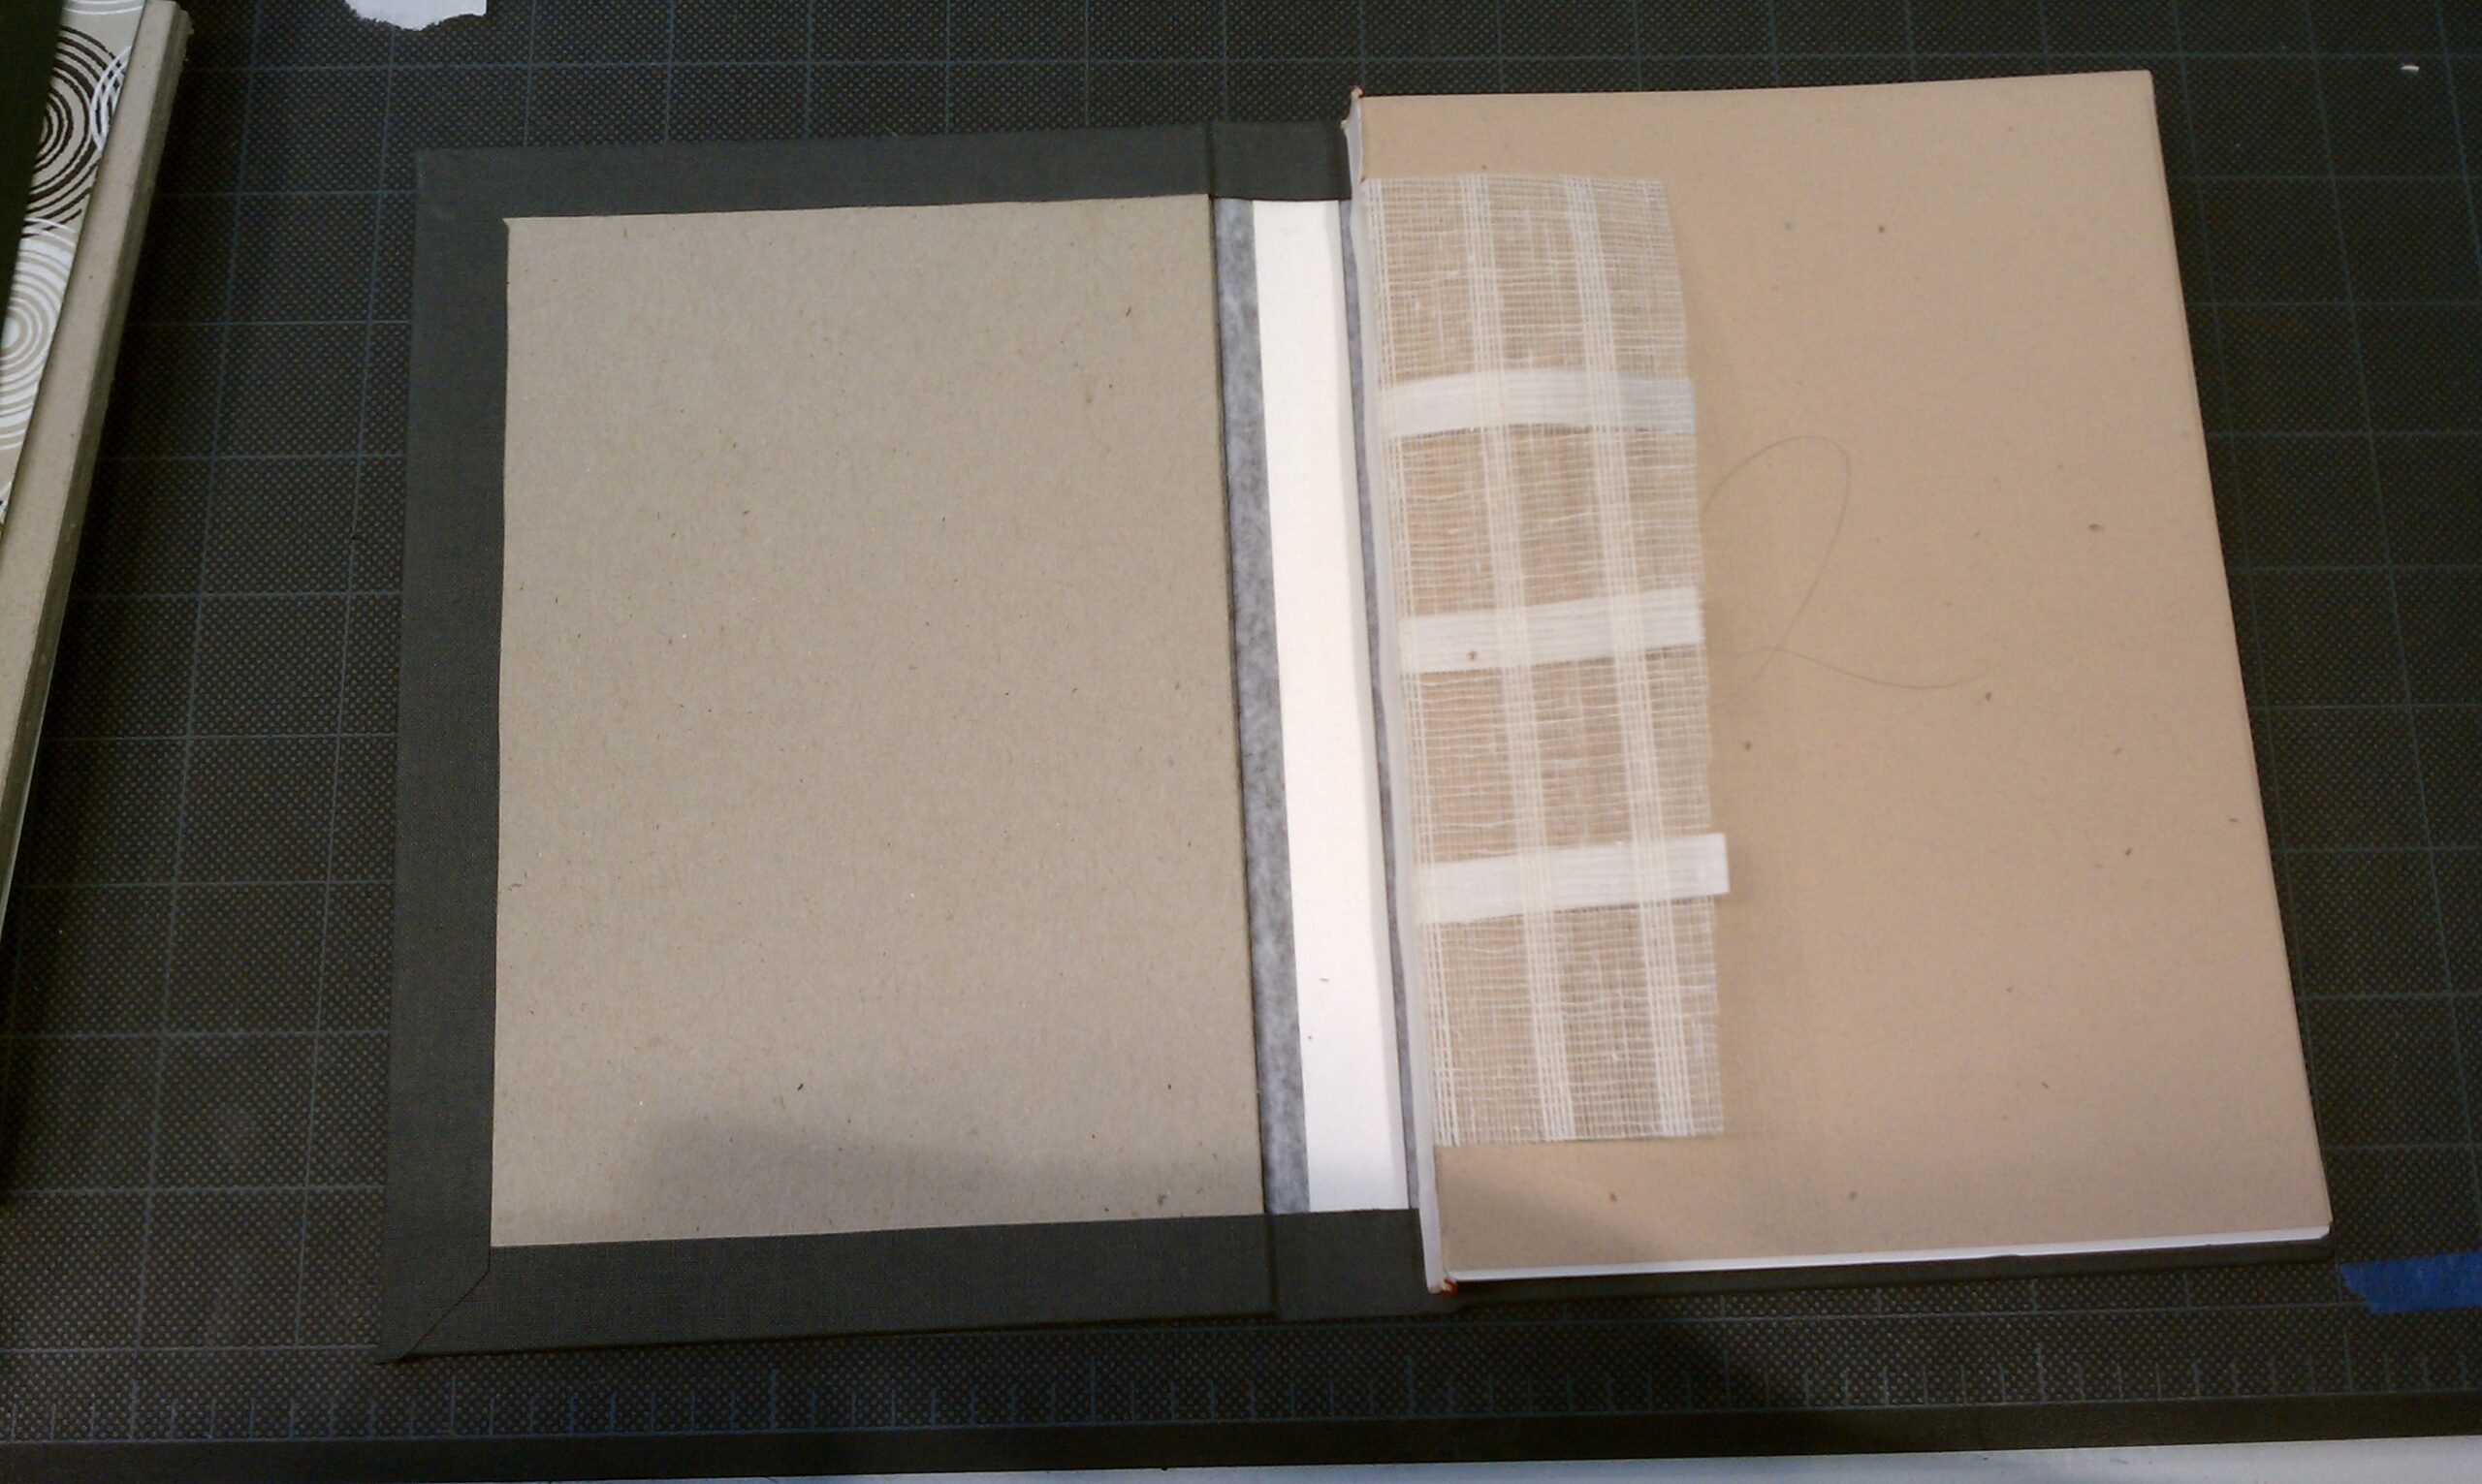
There were three main differences between these books and the ones from Bookbinding 1 — the rounding of the spines, making cloth corners for one of the books (cloth is more durable than paper, so the corners won’t wear through as quickly), and assembling the cover in a more traditional, stronger fashion. You’ll note the paper joining the spine to the cover boards, that’s been torn along the edges. We sanded that down so it would be smoother under the endpapers and the edge of the paper wouldn’t make a bump. The tearing makes that process easier.
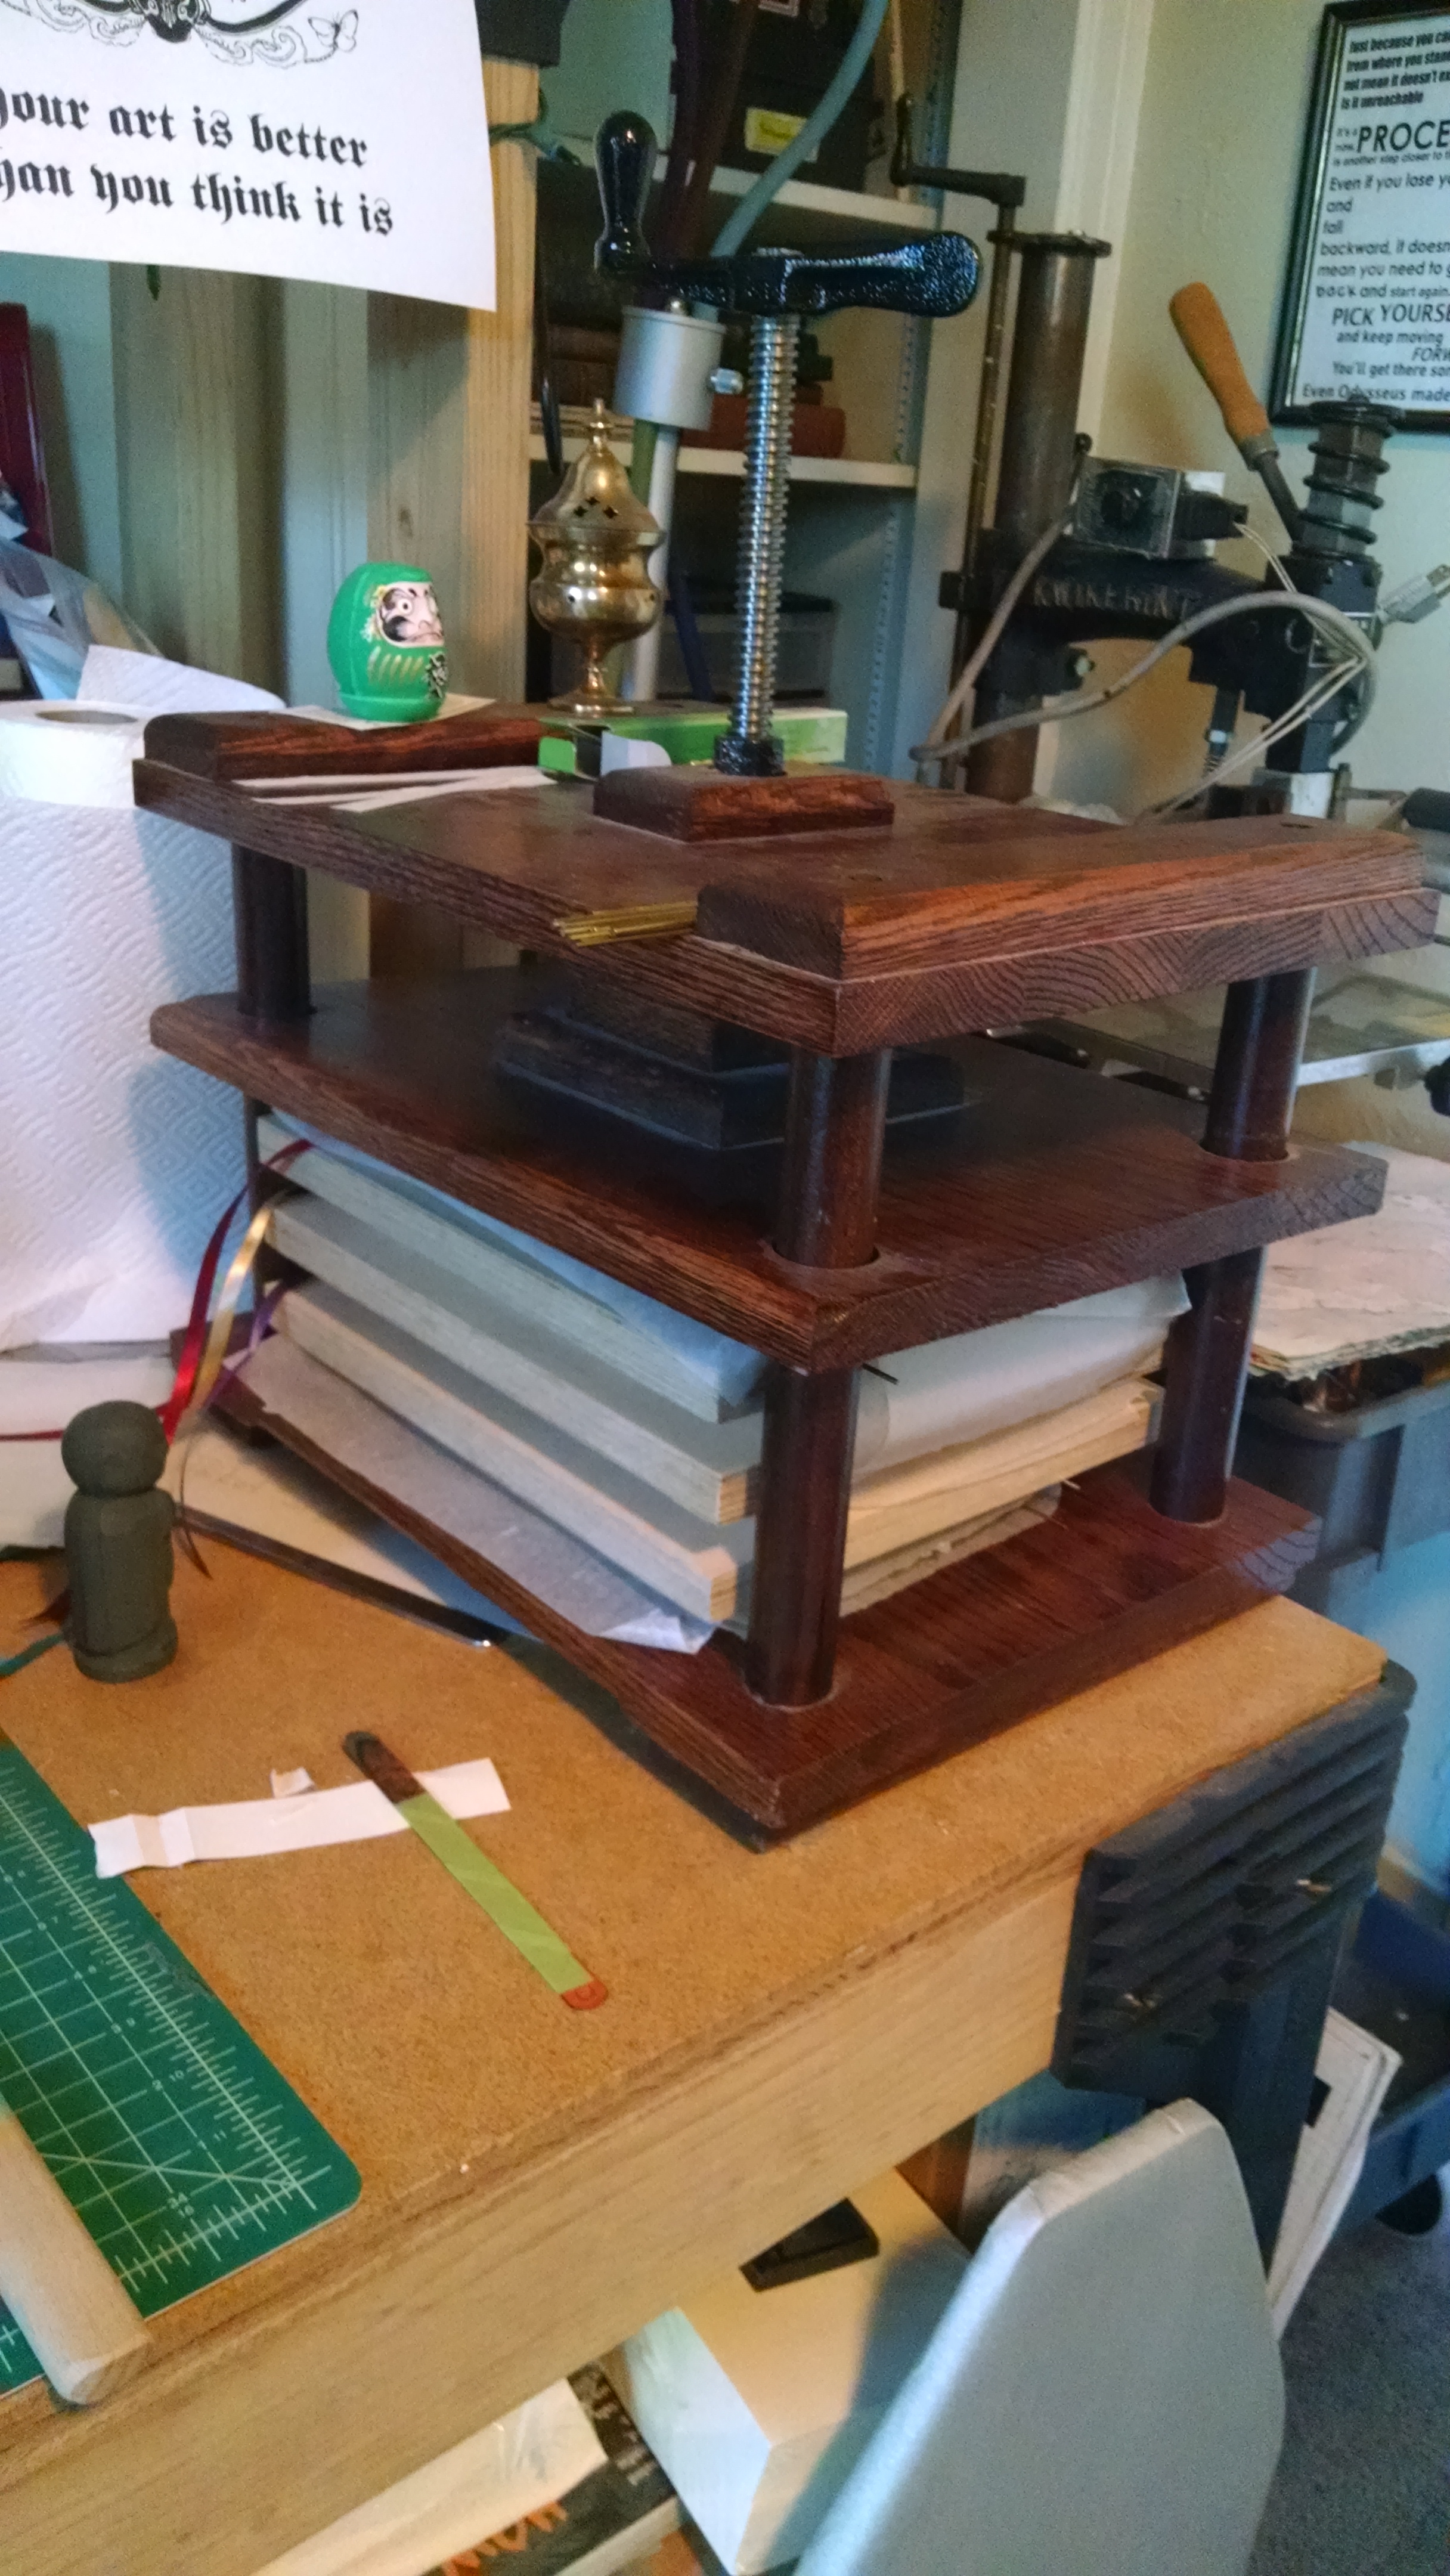
I’ve been doing a little work on a book of my own at home, but stalled out because I need a finishing press… plus space to work and a nipping press and and and. I’m in the process of getting all that, and once my workbench is all set up, I’ll give y’all a tour!
Oh, man, I had the best time up at the SF Center for the Book over the weekend! I took Bookbinding 1, which consisted of building two flat-back hardbound books under the guidance of Rhiannon Alpers, who has both her BA and her MA in book arts. How cool is that?
I took a bunch of photos of the process, so here they are for your viewing pleasure!
The first signature all done, waiting for the next one to be stitched on
Sewing the signatures together
The signatures, all stitched!
The spine of one of the textblocks, ready to be glued
The spine of one of the textblocks, ready to be glued
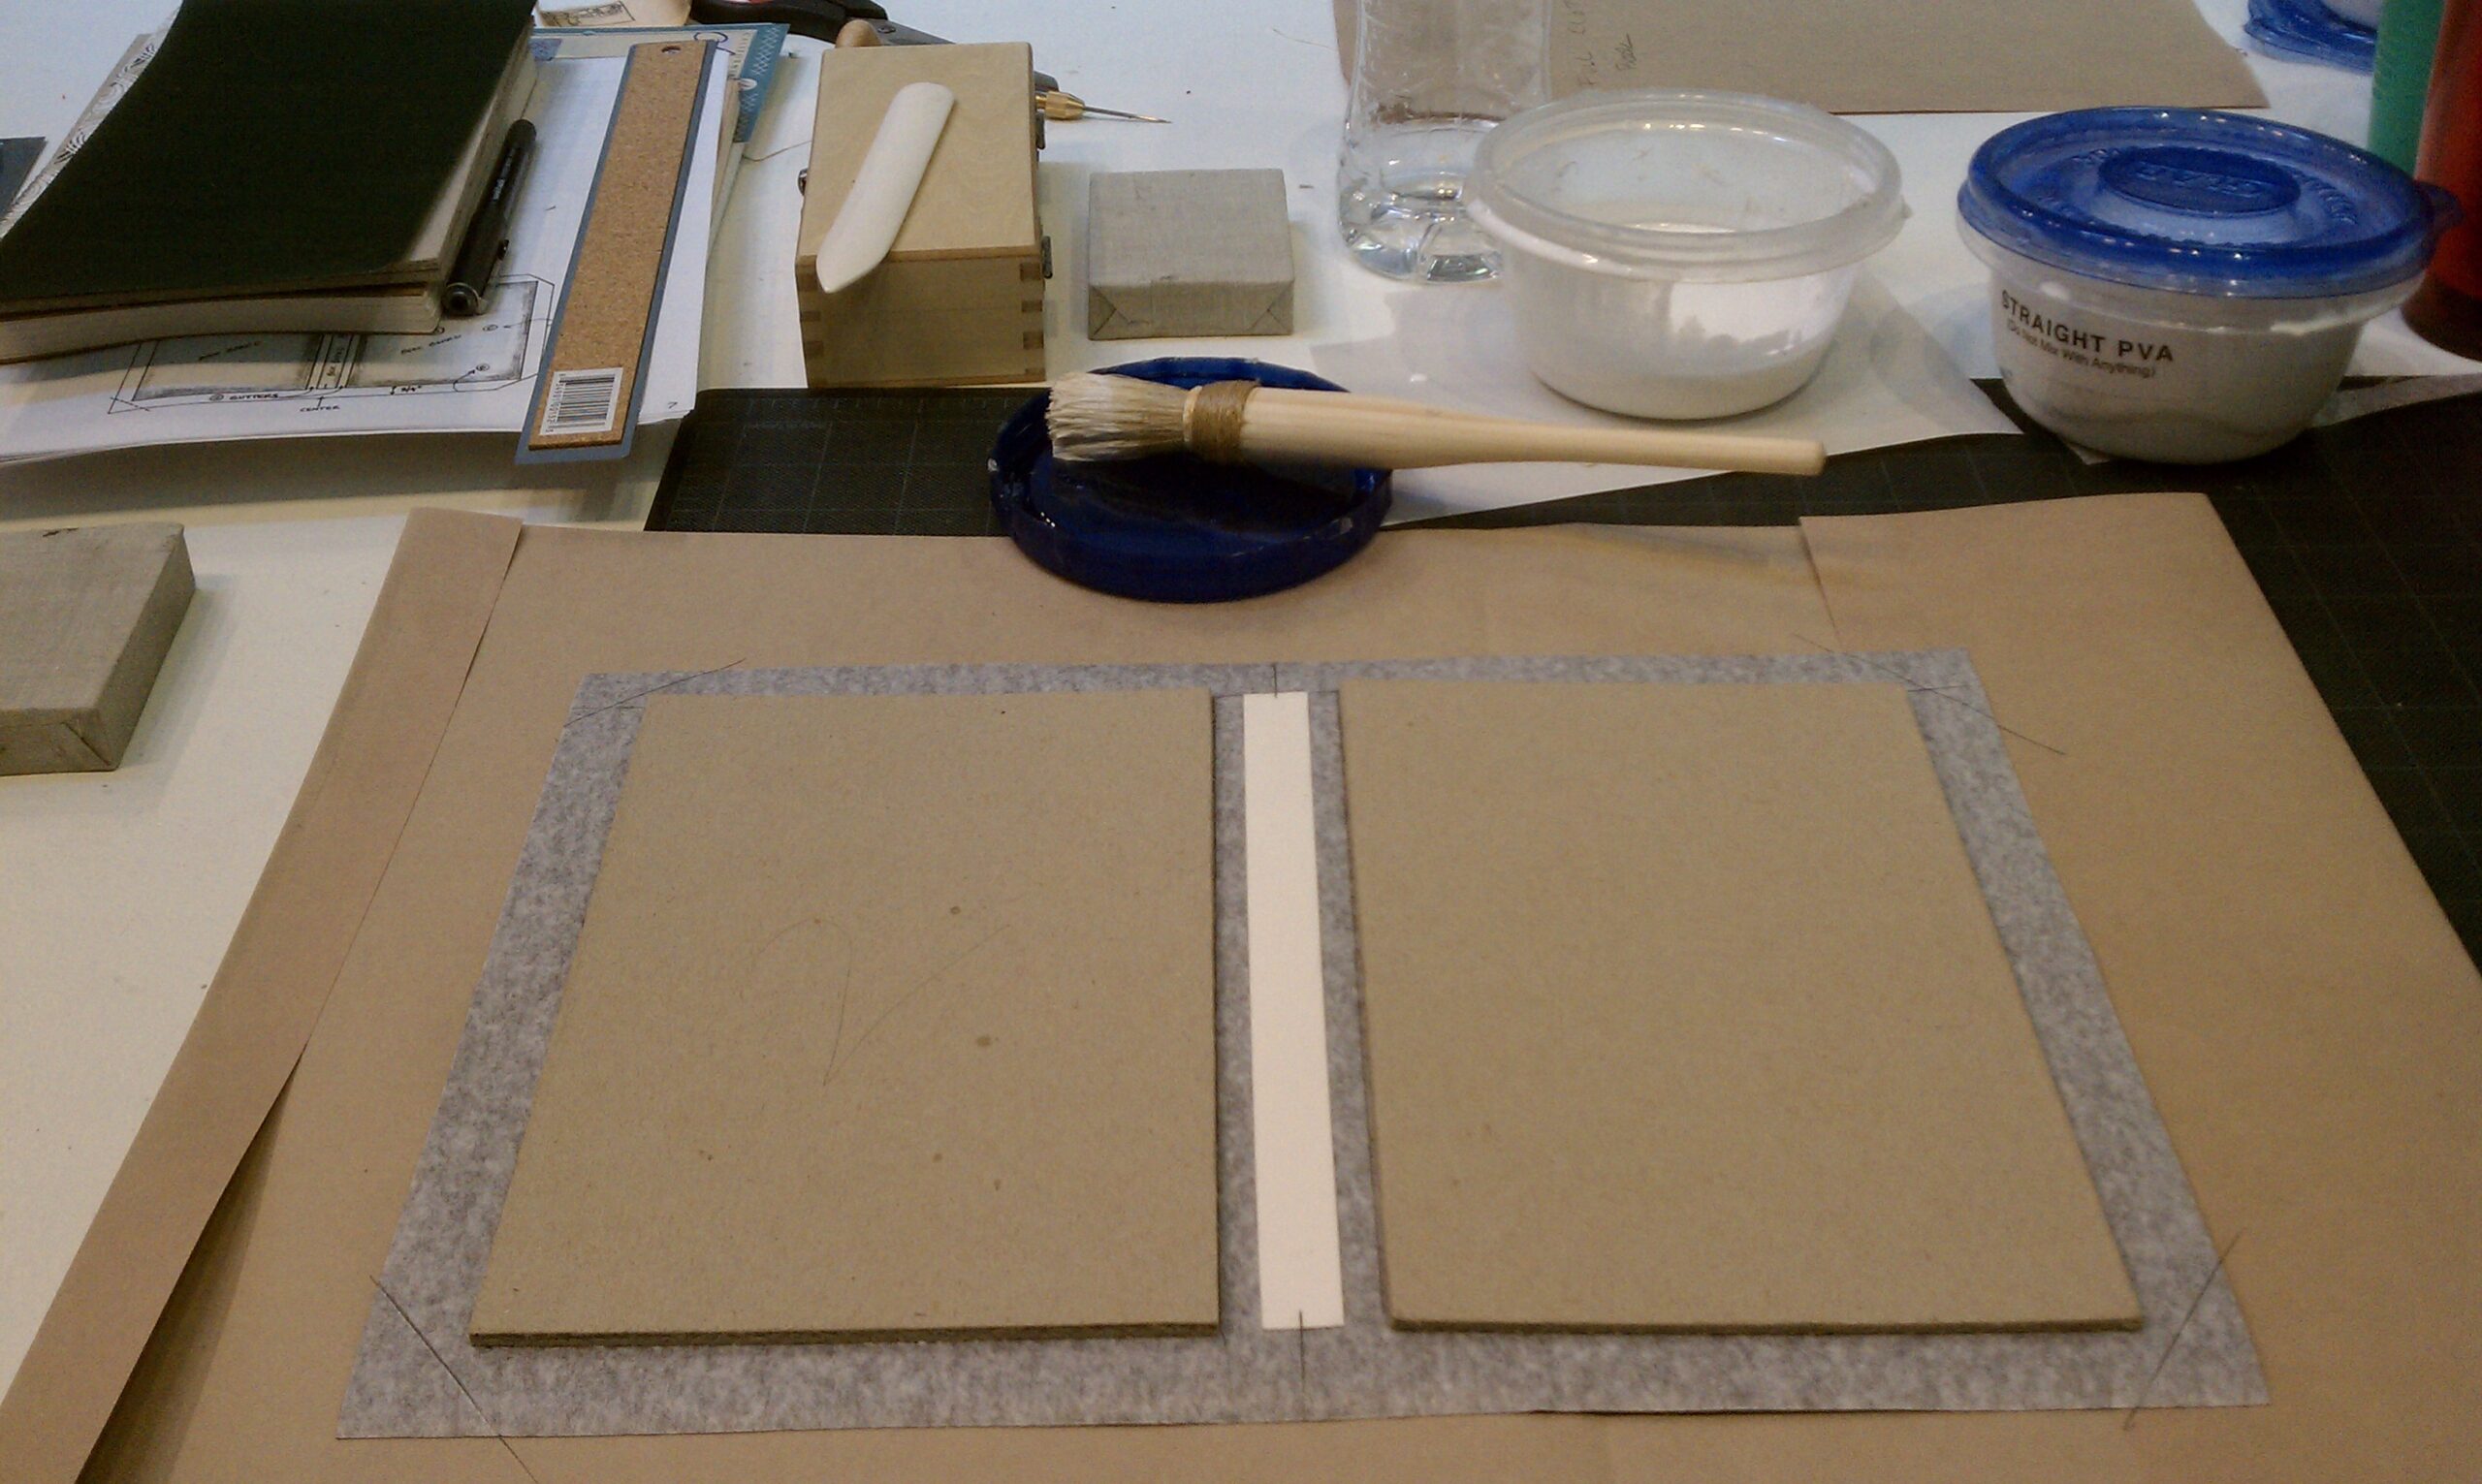
The map and materials for one of the covers
Getting ready to assemble the cover
Prepping to glue the cover on
Preparing to glue the paper onto the cloth-and-paper cover
Preparing to glue the covers on
The skewers make the gutters look right.
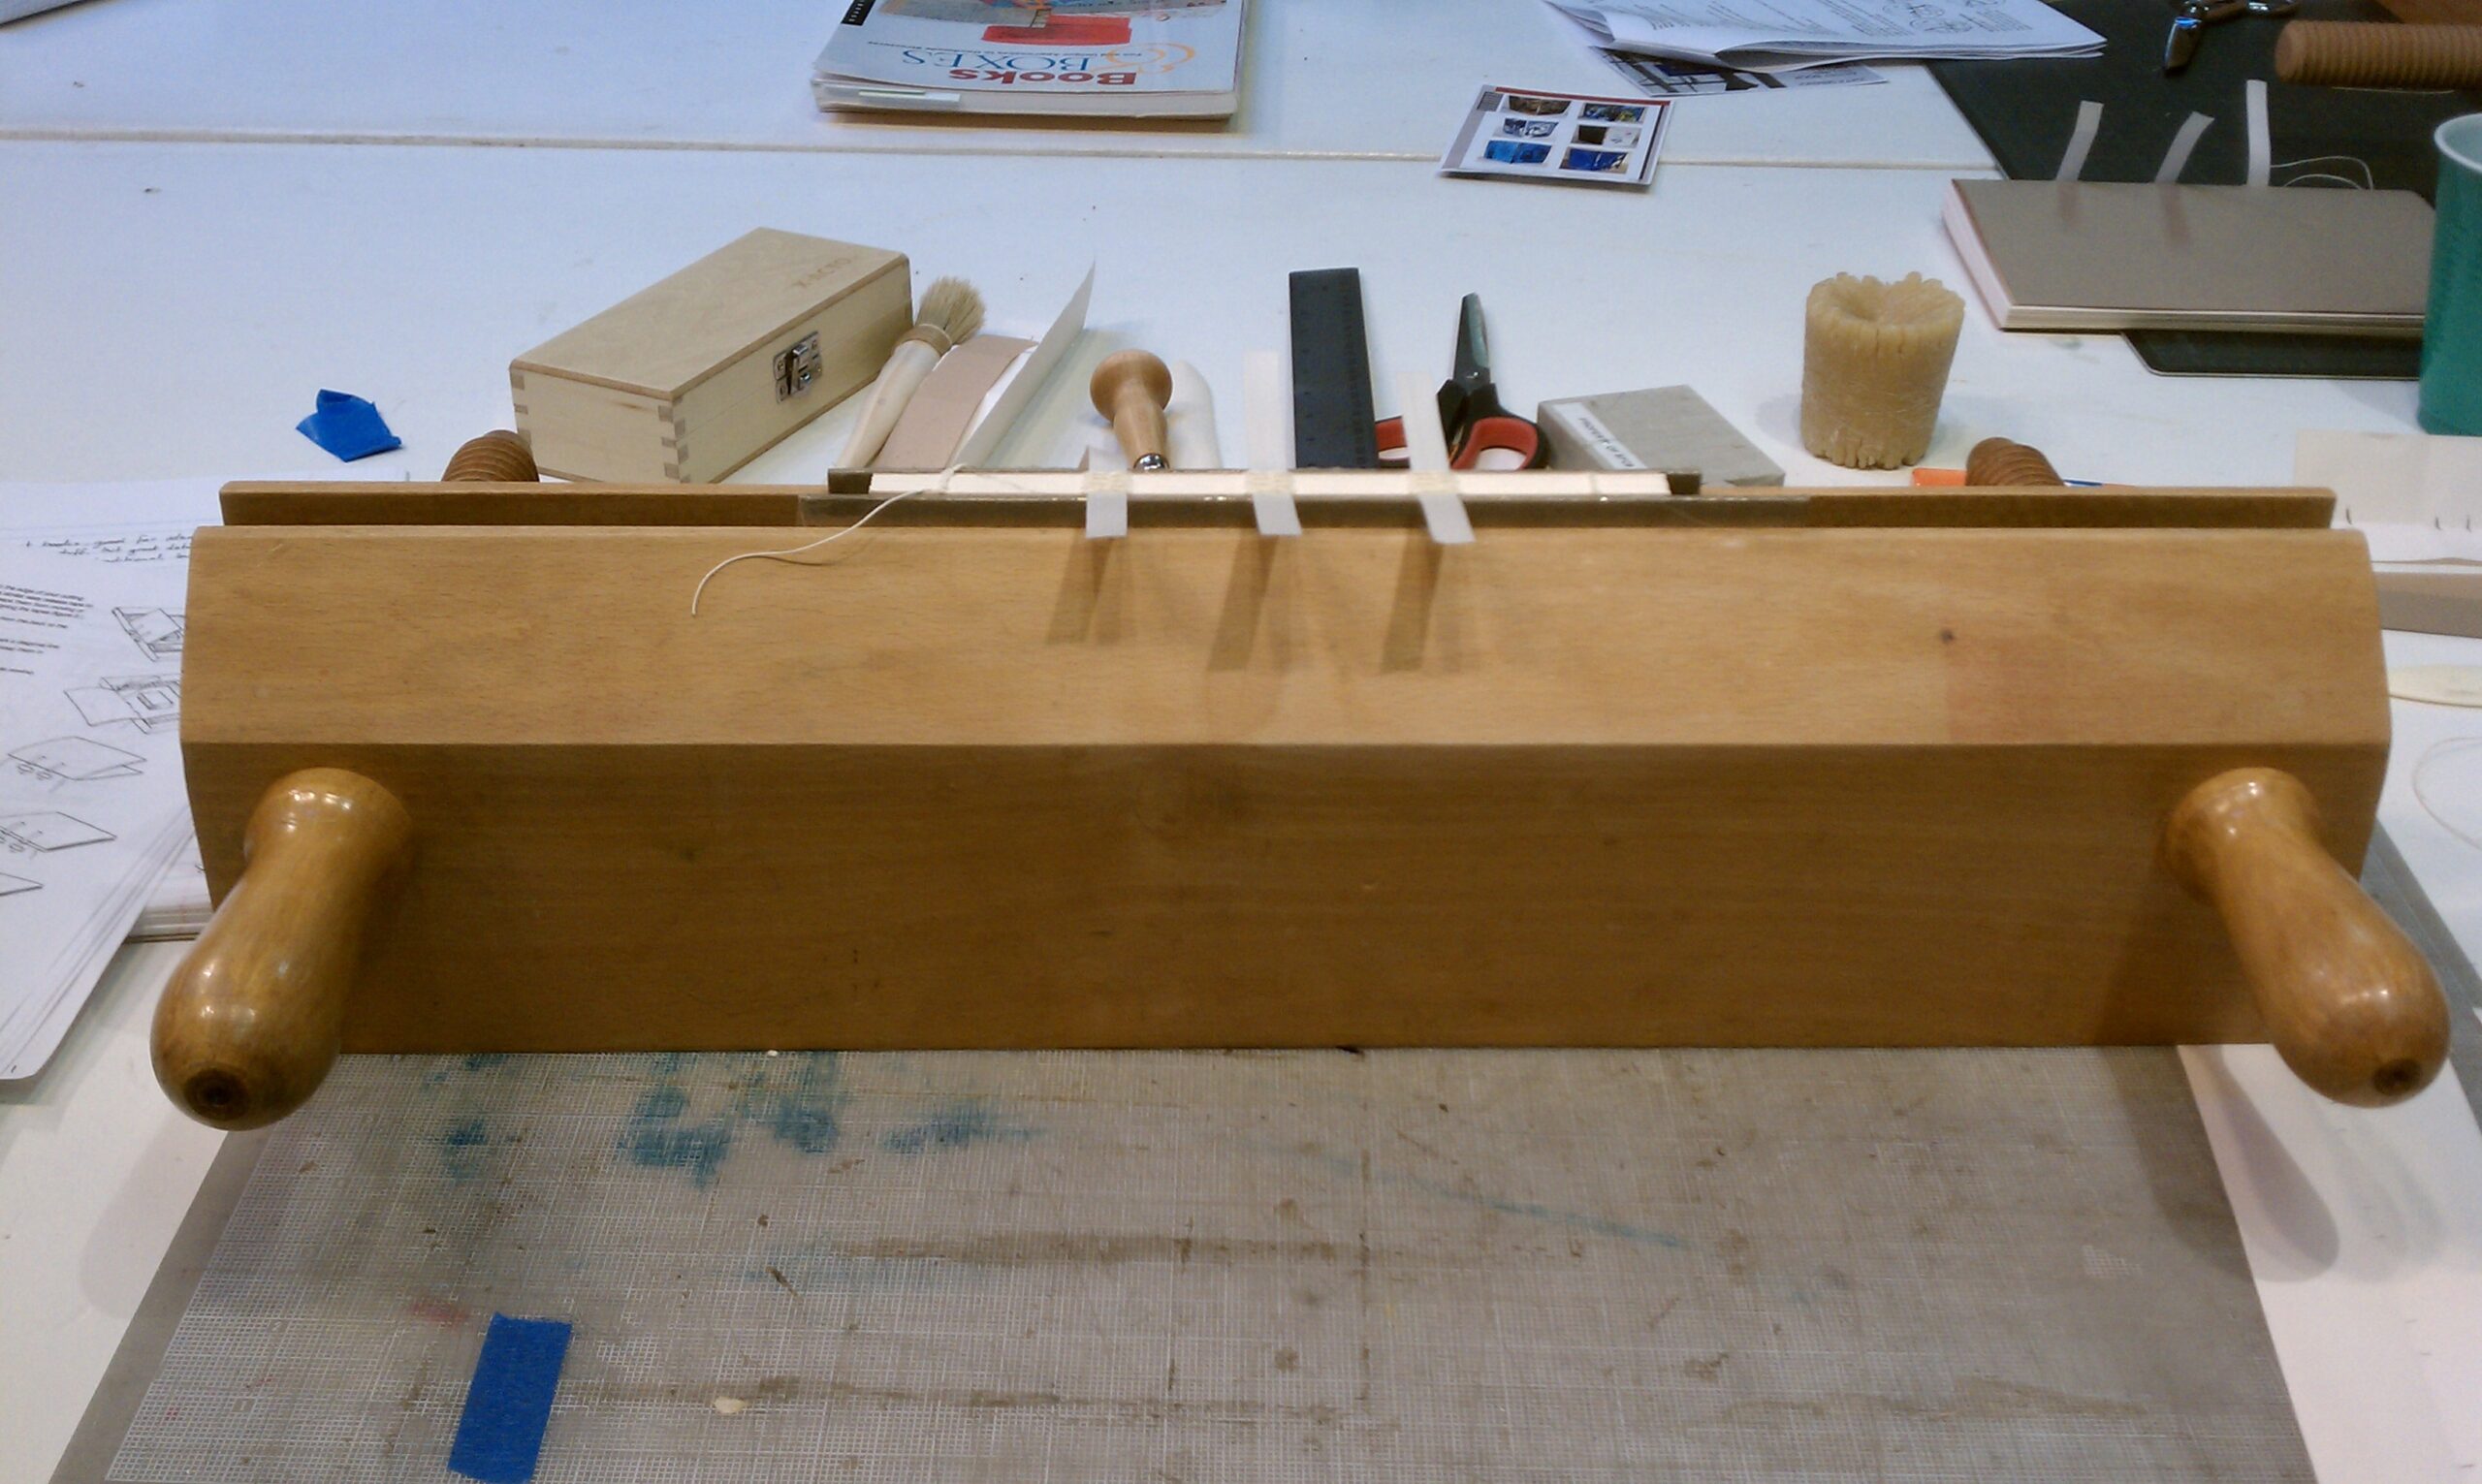
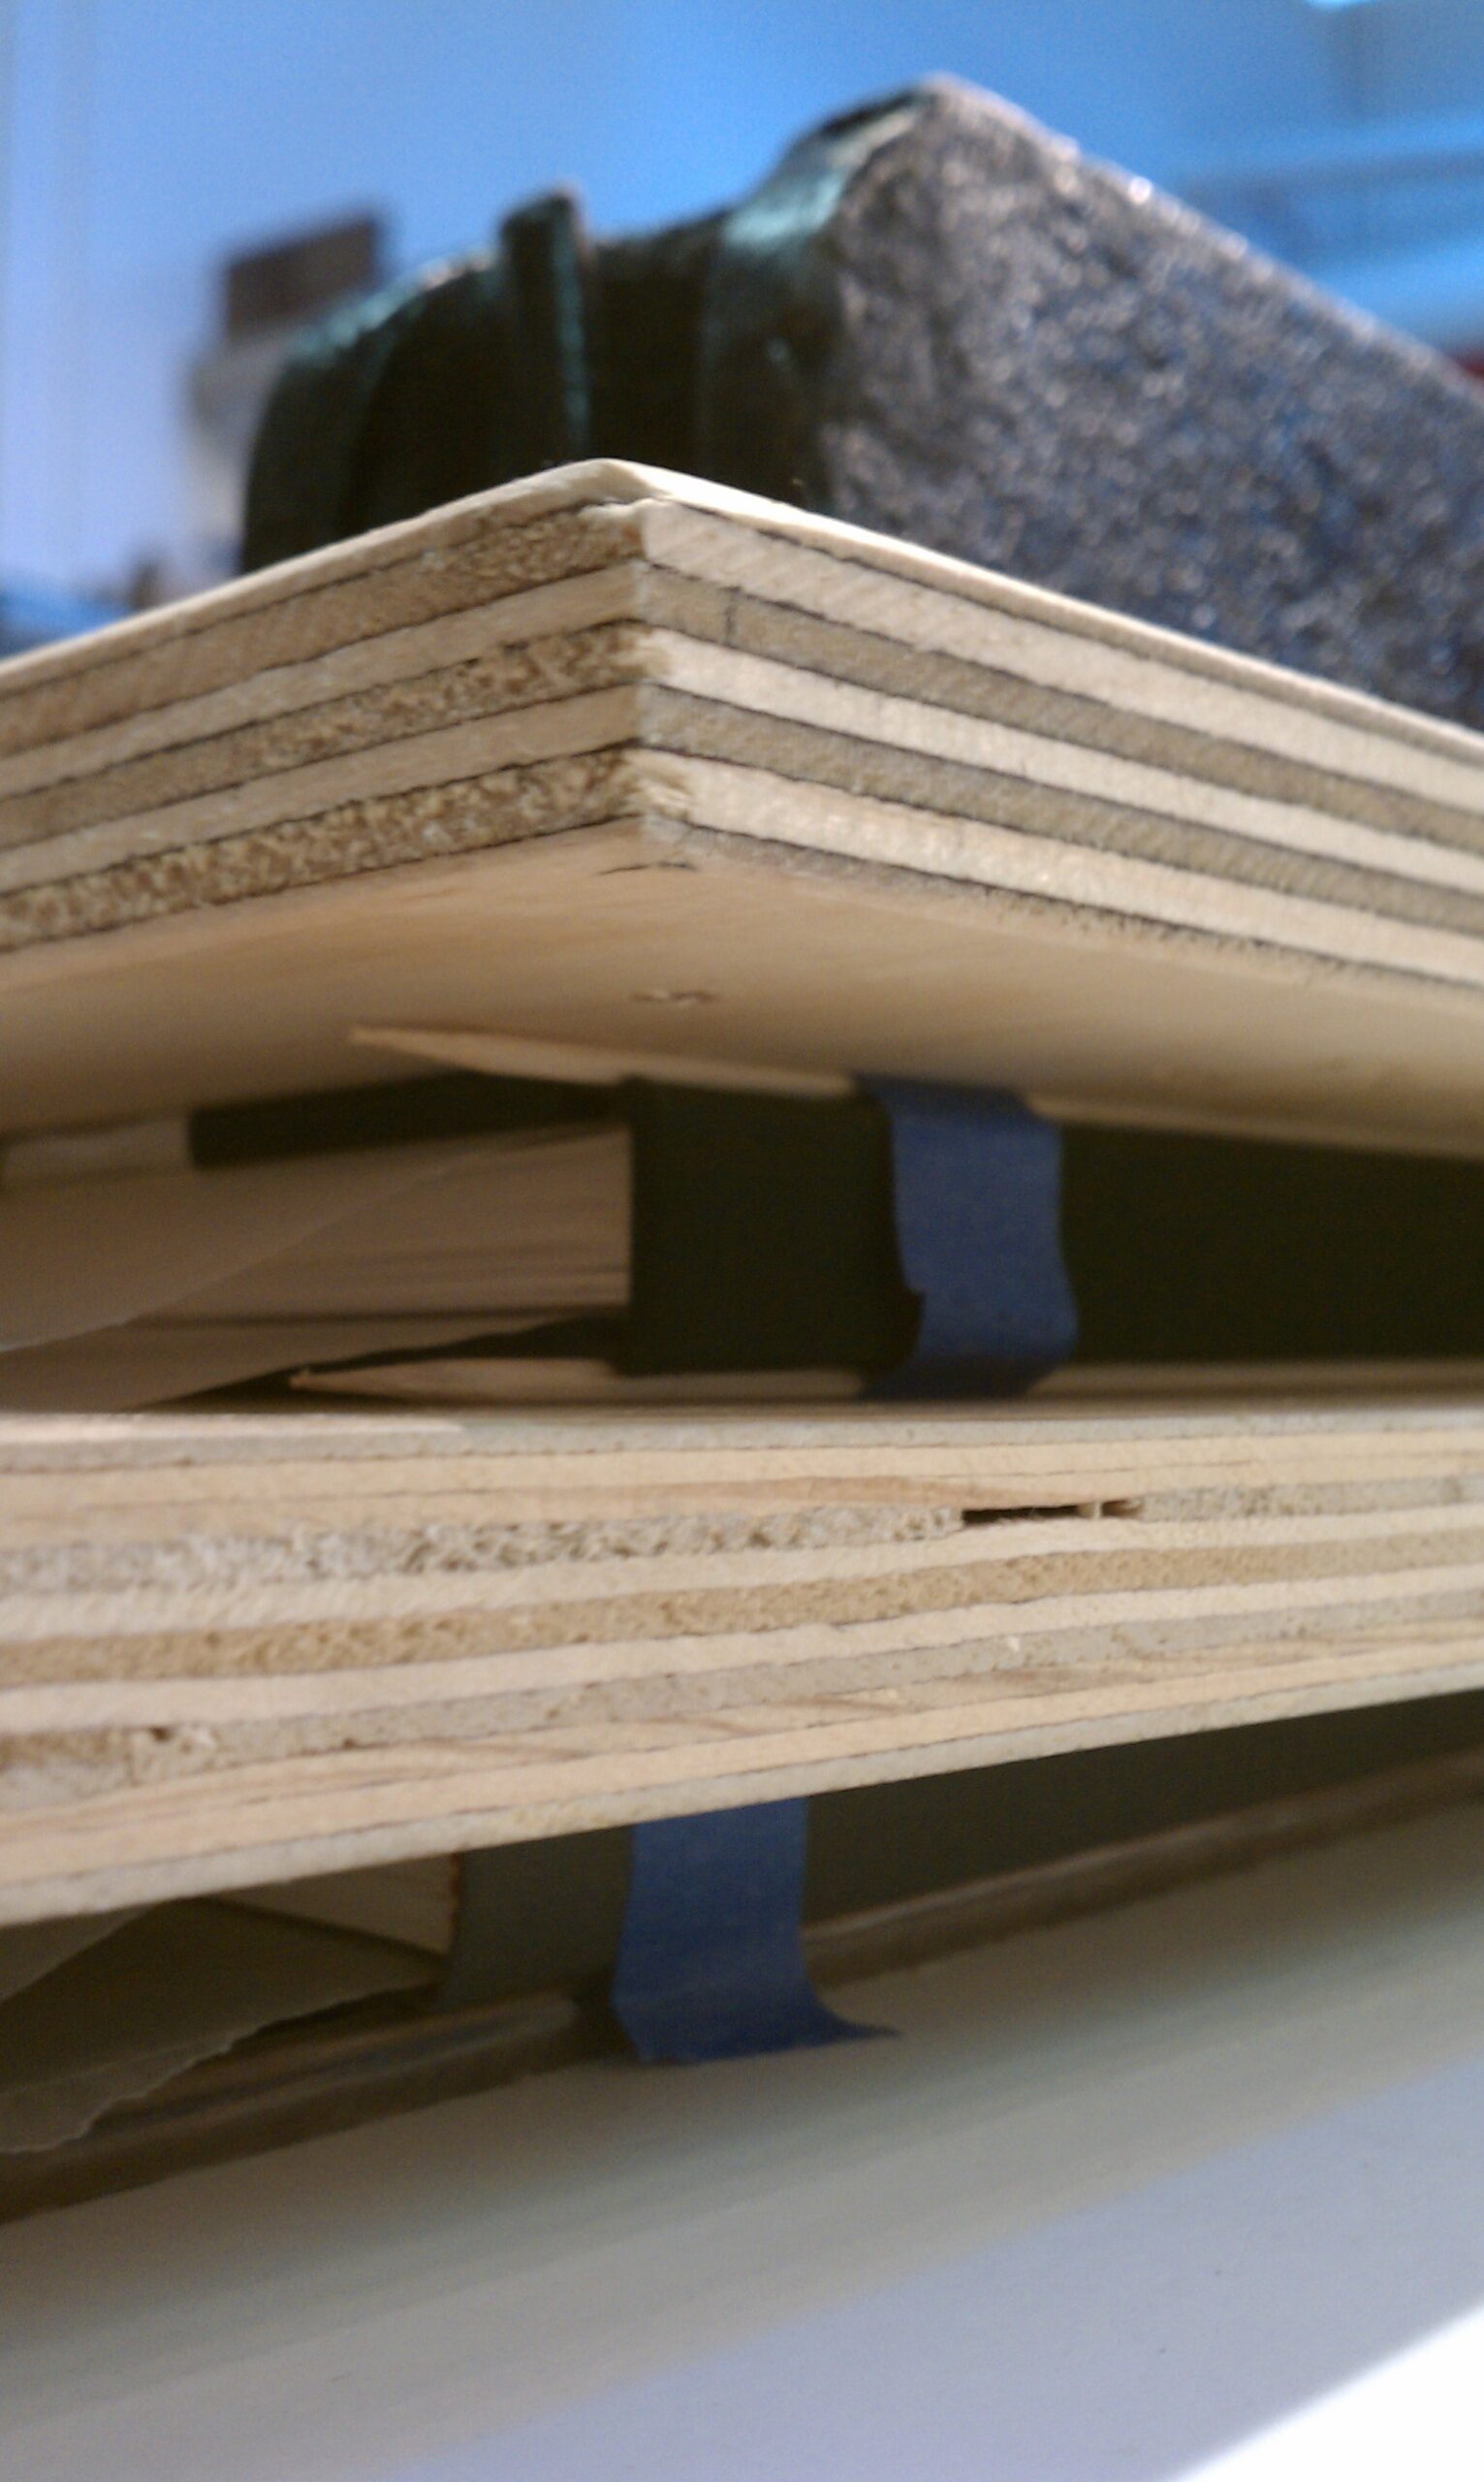
My makeshift book press, to hold the books while they dry
The finished books.
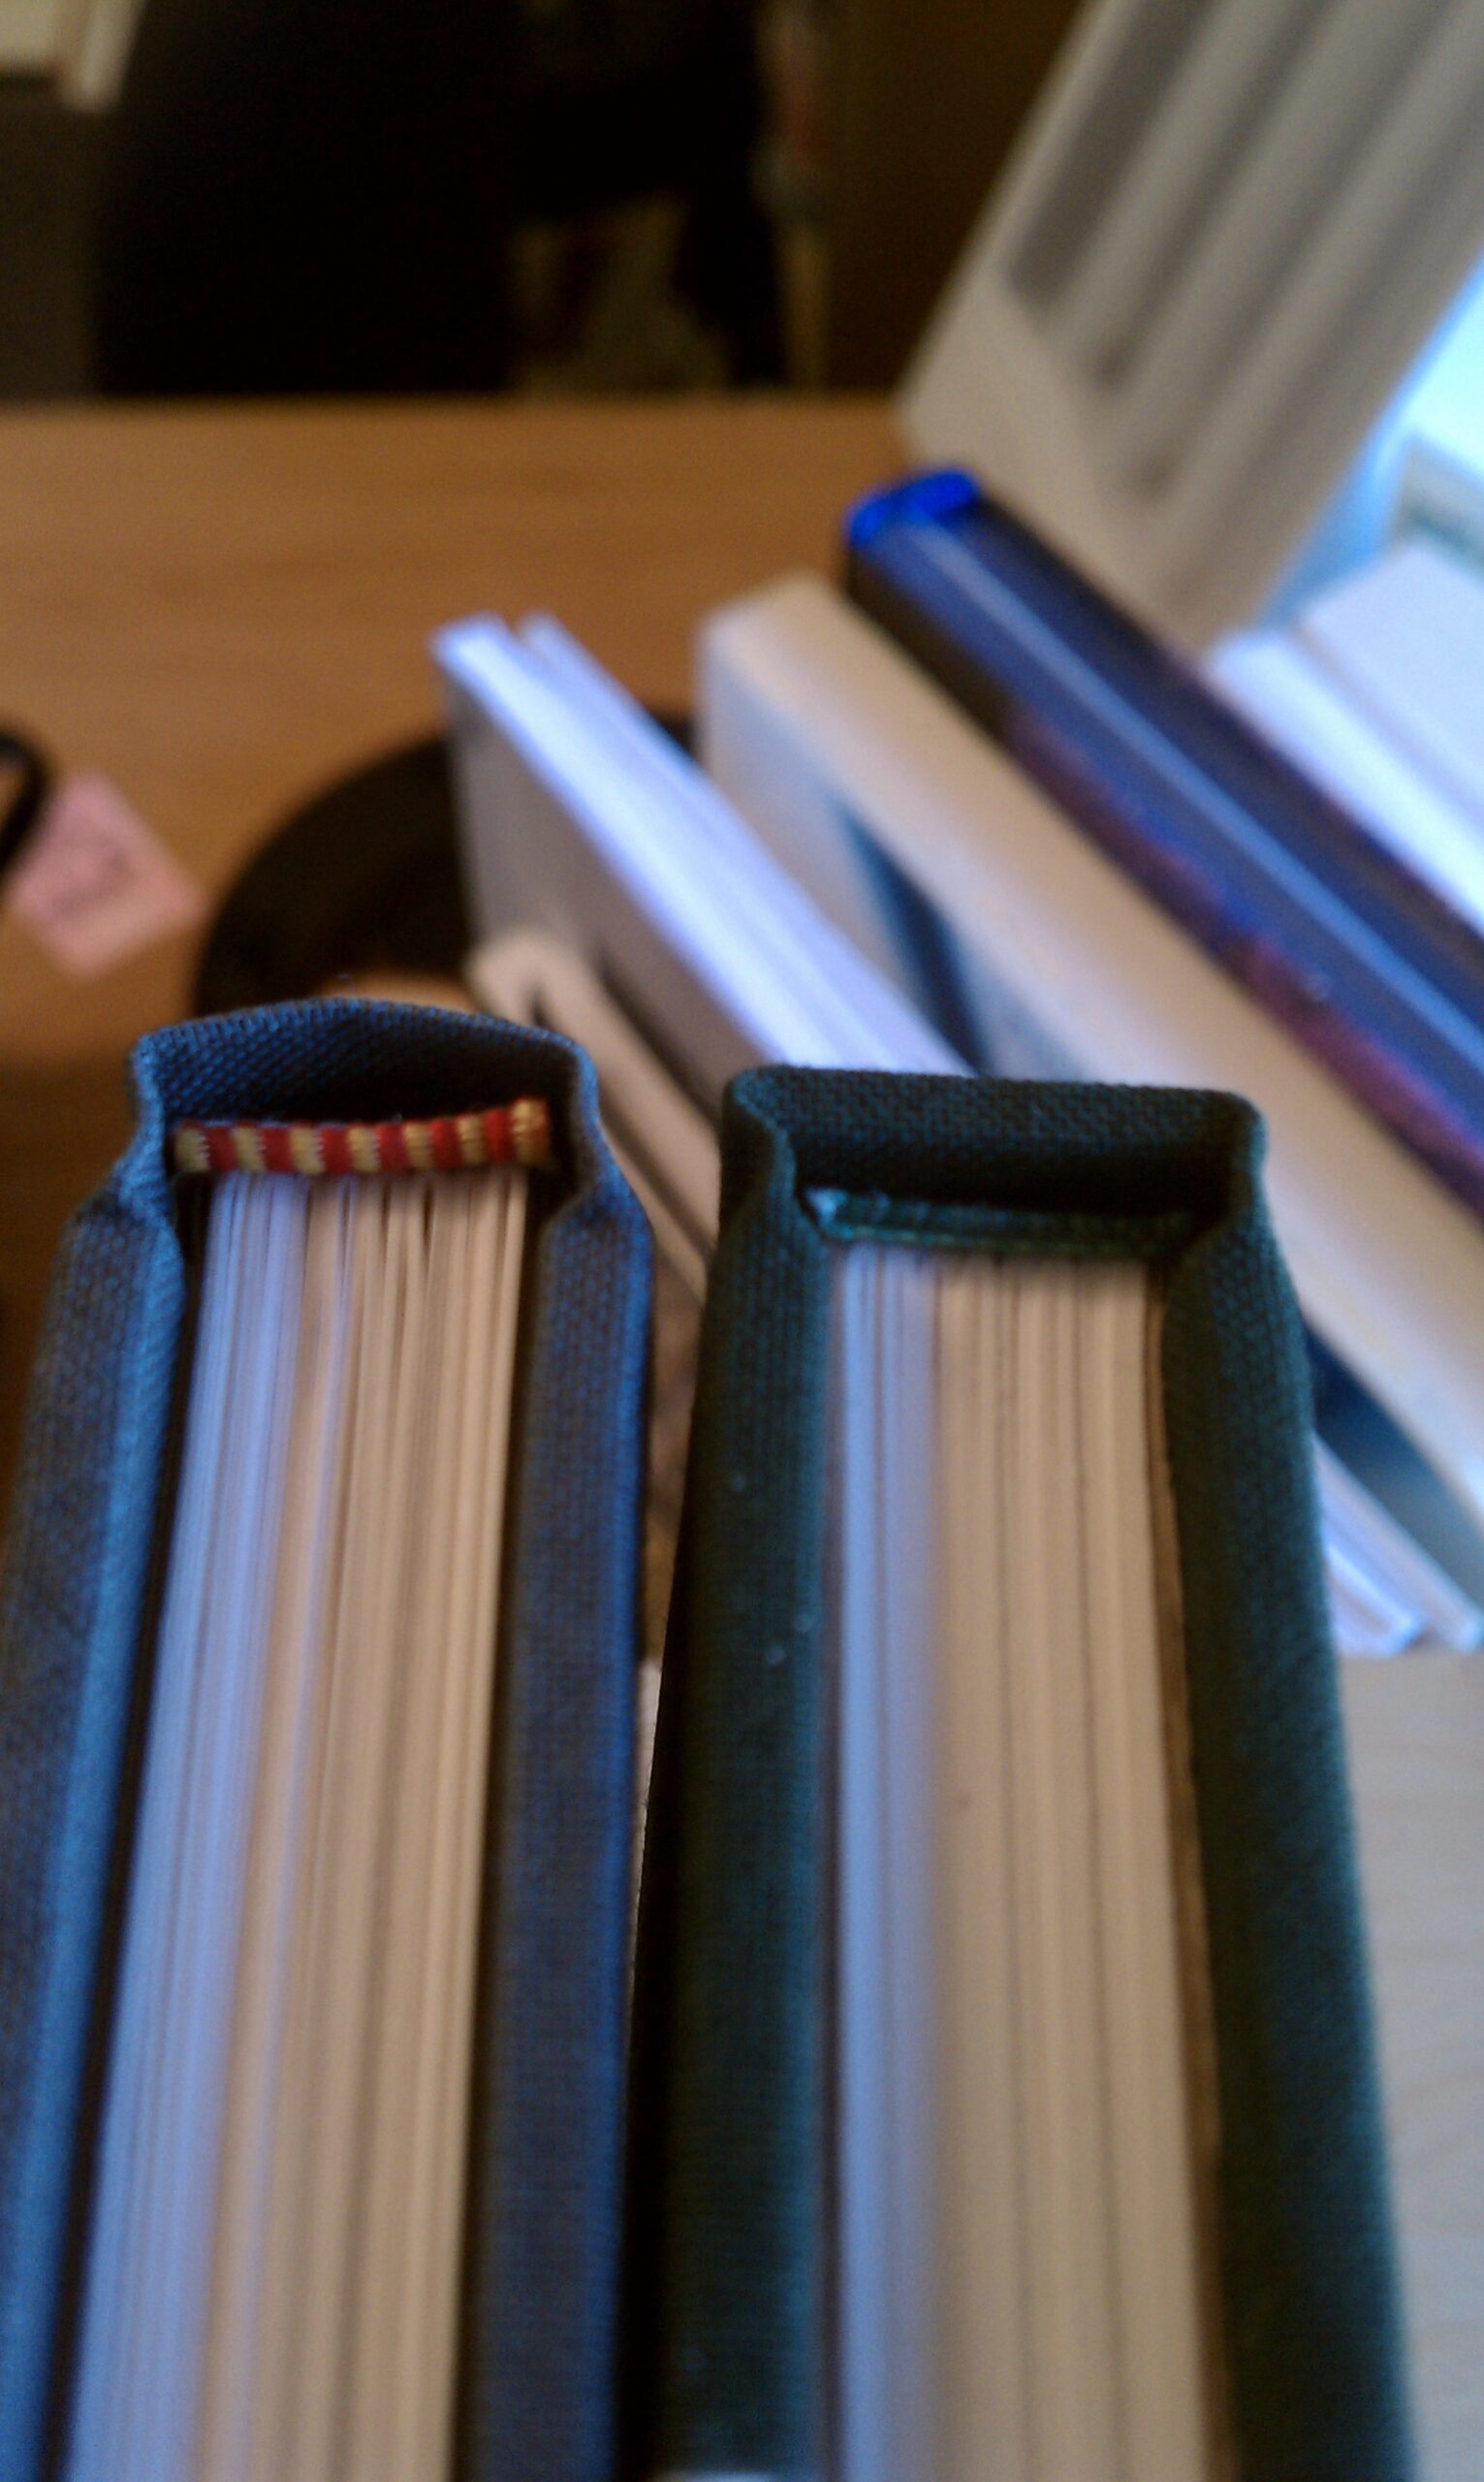
Closeup on the headbands
I had a lot of fun, and am going to take Bookbinding 2 at the end of the month. Rawk!
It’s a lot of fun learning how to do this — not only does this enable me to build my own books, soon I’ll know enough to start repairing books as well!