The Gentleman and Cabinetmaker’s Director

Where do I even start with this tome? Frank Coates, the owner of  local antiques-and-fine-art place Bloomsbury PDX, brought this to me in the early days of the pandemic. He said it was okay if it took a while, which is good because it took me about two years.

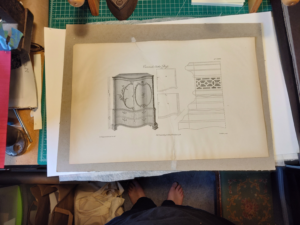
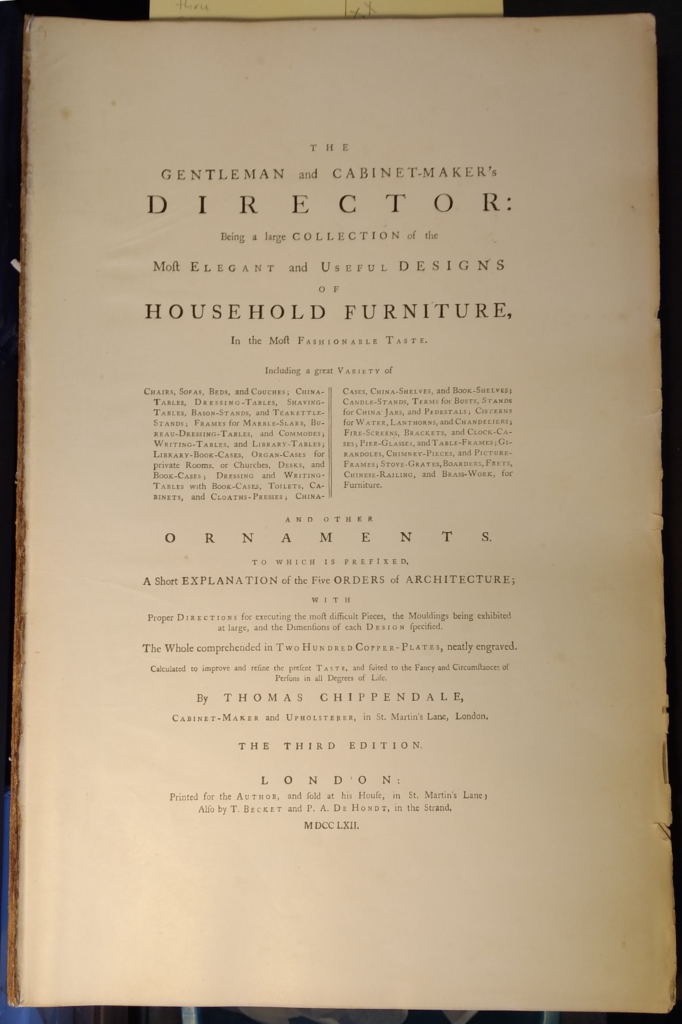
This is the oldest book I’ve ever worked on, published in 1772! Take a look at the title page, which contains a lot of information:

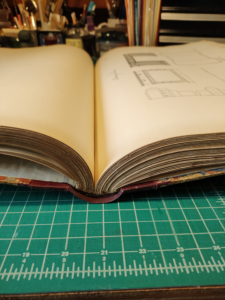
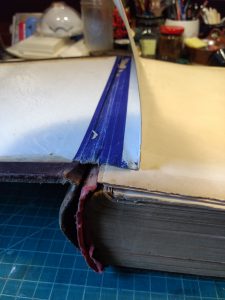
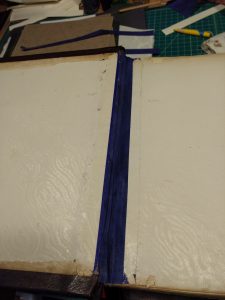
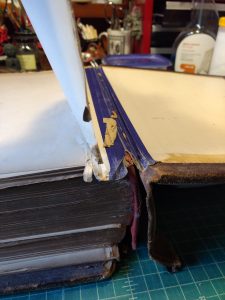
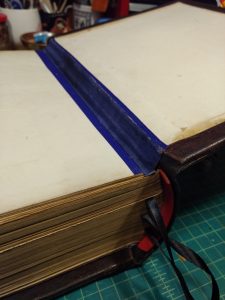
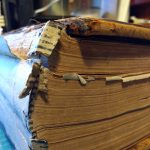
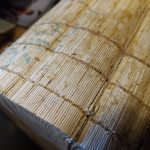
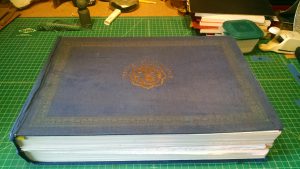
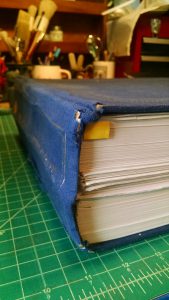
The book measures roughly 19″x13″, and the pages are in beautiful shape – minimal discoloration, and a beautiful, soft feel in the hand. There’s a bit of brittleness, but very little. The prints of the various designs are all in gorgeous shape. The rest of the binding, not so much. The glue along the spine had crystallized and shattered, leaving the pages as a stack of beautiful prints with grit along one long edge. Unlike most books from hundreds of years ago, this was essentially bound like a paperback book, just with boards for covers and a rounded spine.

Everybody loves a before-and-after gallery, right? Here you go!

Before After

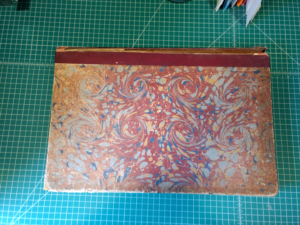
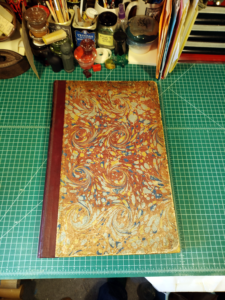
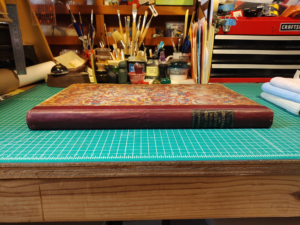
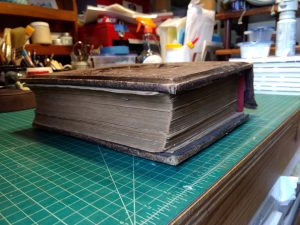
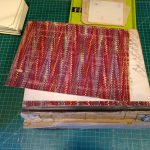
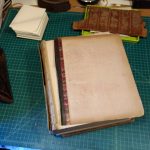
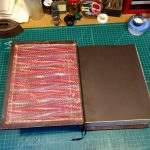
A massive book lying on a green cutting mat. It has maroon, gray, blue, and yellow marbled paper on the cover and maroon leather down the spine..
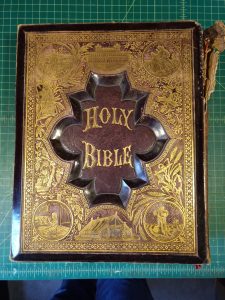
The front cover, before repairs.

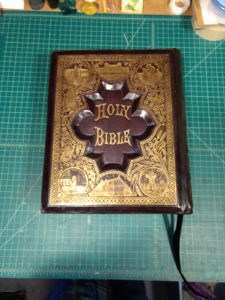
The front cover, after repairs.

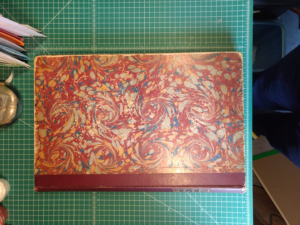
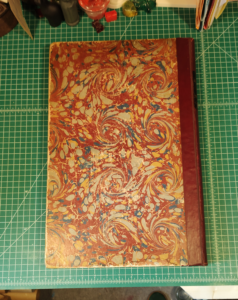
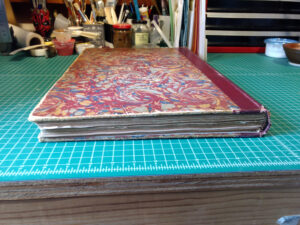
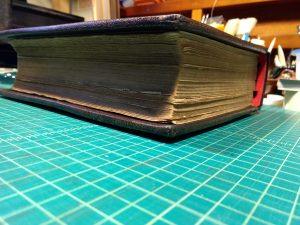
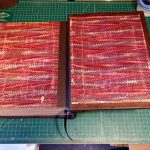
A massive book lying on a green cutting mat. It has maroon, gray, blue, and yellow marbled paper on the front.
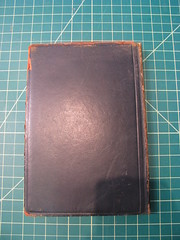
The back cover, before repairs.

The back cover, after repairs.

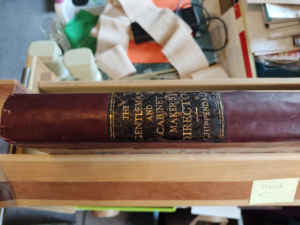
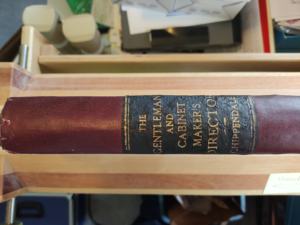
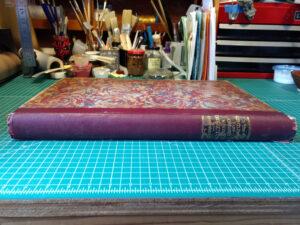
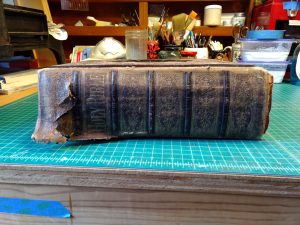
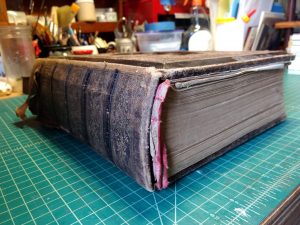
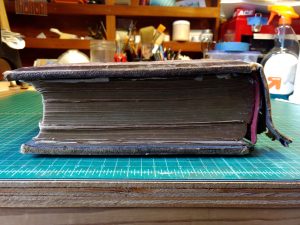
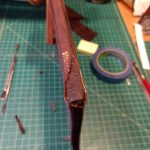
The spine, before repairs.

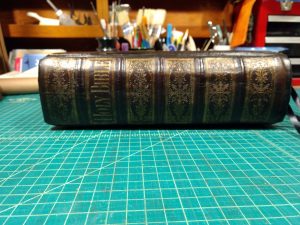
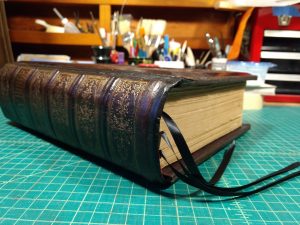
The spine, after repairs.

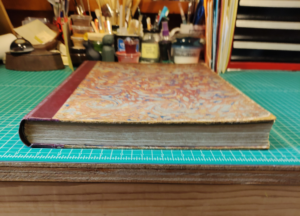
A massive book lying on a green cutting mat. It has maroon, gray, blue, and yellow marbled paper on the front.
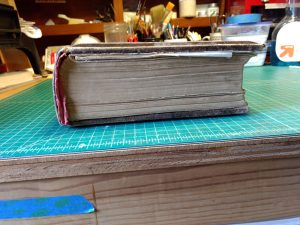
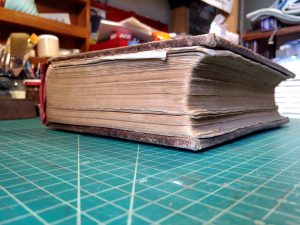
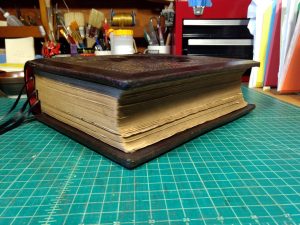
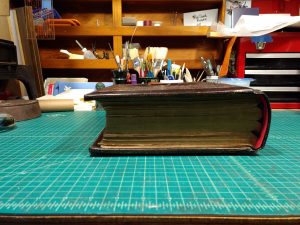
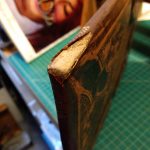
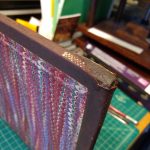
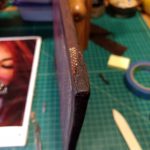
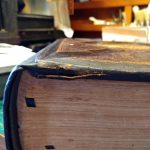
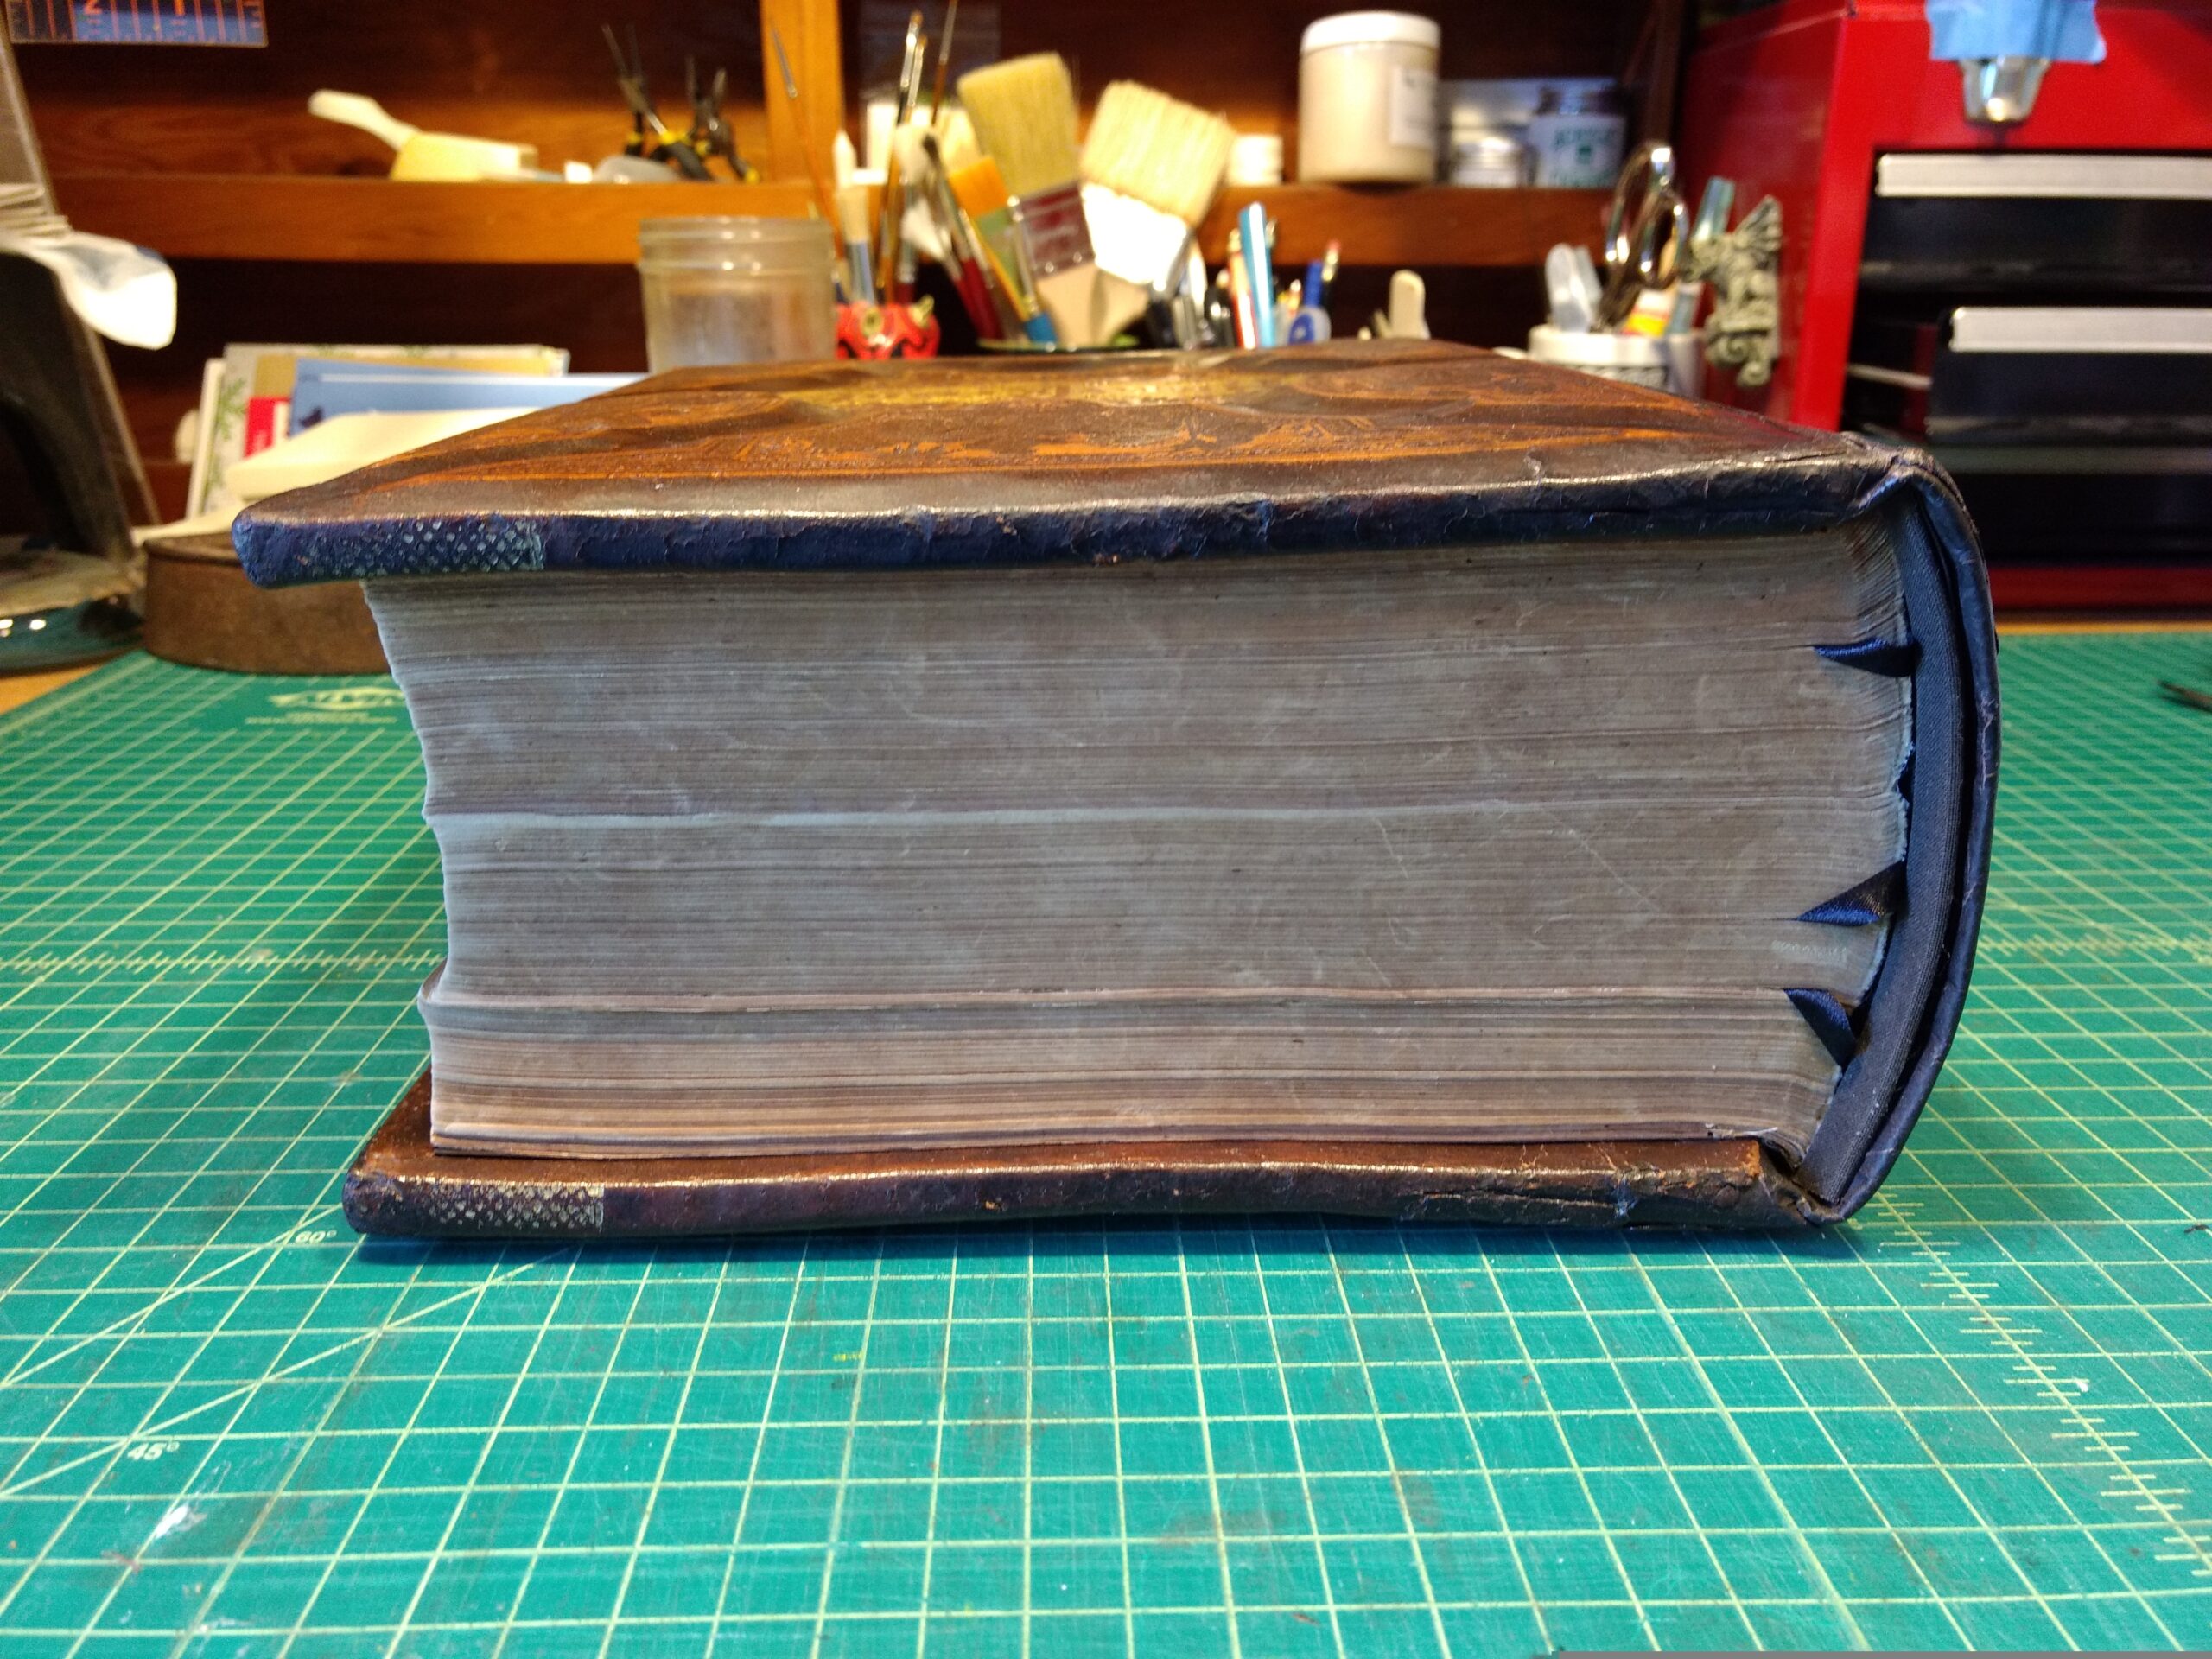
The bottom edge, before repairs.

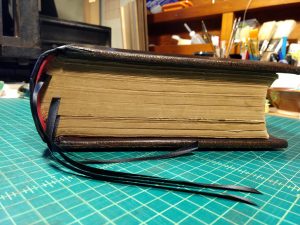
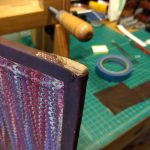
The bottom edge, after repairs. Please note: the lighting gave me more issues than I could fix in post, I promise I didn’t fade the cover!

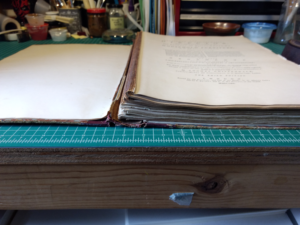
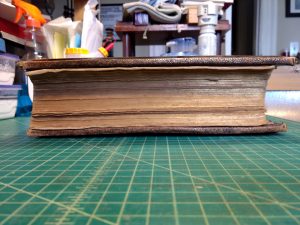
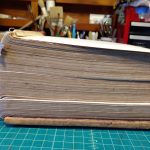
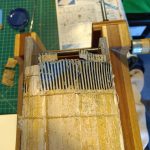
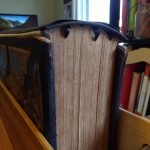
Bottom view of the text block, before repairs.

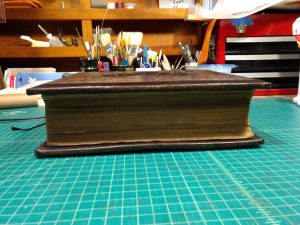
Bottom view of the text block, after repairs.

I kind of panicked when I opened it the first time, I’d never seen an old book bound this way! Thankfully Sophia (of SaveYourBooks.com) had some ideas and helped me be a little less intimidated.

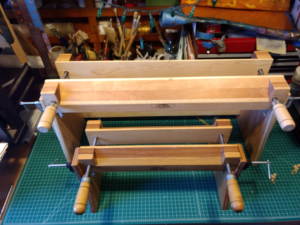
One issue I spotted the moment I accepted this book to repair was how tall it is. Folks who’ve seen my laying/finishing press in person in my booth know it is nowhere near big enough to hold a 19″ book. Thankfully Jim Poelstra of Affordable Binding Equipment takes custom orders and made me this behemoth (shown with my regular-sized one for scale):

Two laying presses, which hold a book vertically with the spine up. They're wide and made of wood and have two cranks to close the jaws snugly.

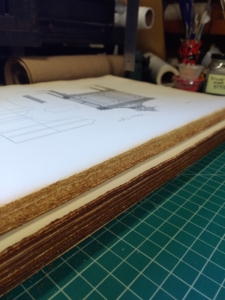
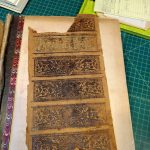
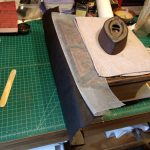
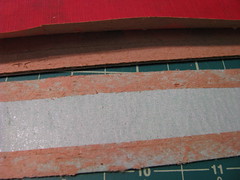
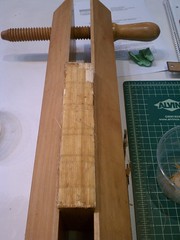
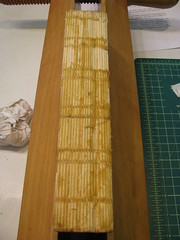
My first order of business was cleaning the glue off the pages. It had hardened and shattered, leaving a line of grit on the edge of every page. This took a while! I carefully scraped it all off with a lifting knife. I didn’t find any way to do it faster that wouldn’t damage the pages or involve just hacking the edge off. I really didn’t want to remove any more original material than necessary. Here’s an in-progress pic, with cleaned pages on top.

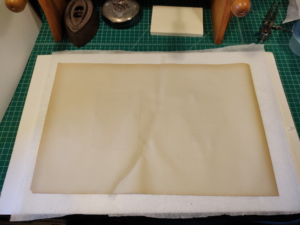
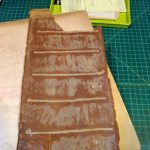
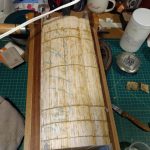
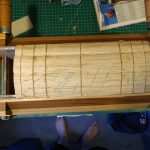
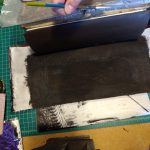
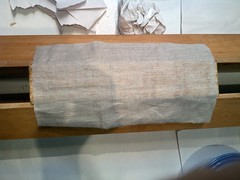
Another adventure I got to have was mending a page that had been torn completely in half! I took a paper mending course ages ago, but had never tried to mend this long a tear. Moisture (like in the paste) makes paper ripple – this isn’t too bad for small tears as the ripples aren’t very concentrated and can be minimized with pressure. This, however, was not a short tear: Once again, Sophia came to my rescue – but with a terrifying method. What you do to keep the paper from rippling when you paste on the mending material is get the entire page wet. She assured me that if I dried it sandwiched properly with hollytex (a non-woven synthetic material that won’t stick but lets moisture pass through) and blotting paper it would dry flat again. She was right! I still got a little rippling because keeping that massive a page equally damp with a mister rather than a fancy humidifier hood is really difficult. But, not much rippling all things considered! Here’s the sandwich (note the minimal rippling:
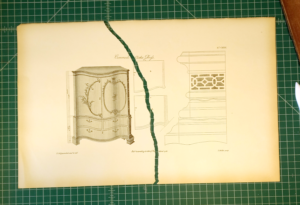
And here’s the finished page:

That was an adventure!

Other notable bits…

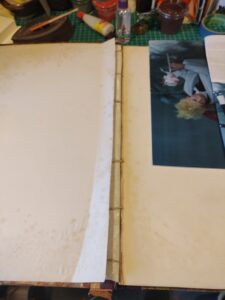
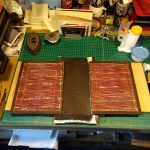
I unfortunately didn’t take any images of the main strengthening structure I used: I (very nervously and very carefully) used a small saw to cut channels into the spine, then laid cord into each one and glued everything up. You can see the cords here, where they’re tucked under the pastedown inside the cover:

The magazine page was used to help me only glue up the bits I wanted to as I tucked the cords and hinge linings under the pastedown.

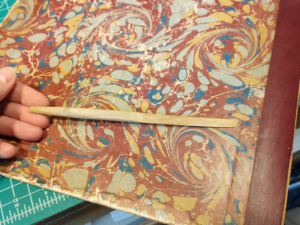
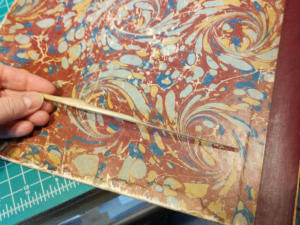
I took a workshop with Jeff Peachey on making your own tools, and made a bamboo lifter that worked great for gently lifting the cover material on the boards! Here’s a quick look at it:
I also touched up the leather label on the spine with black shoe cream before giving it a coat of Klucel G to protect it.

Before After

I learned a lot, and it was a real privilege to work on such a large, old, unusual book!
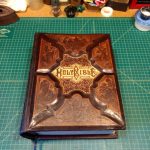
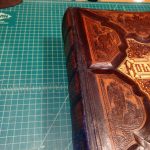
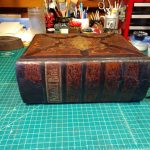
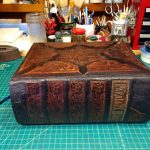
2019’s Bible Project

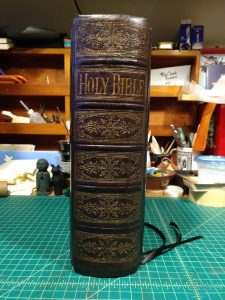
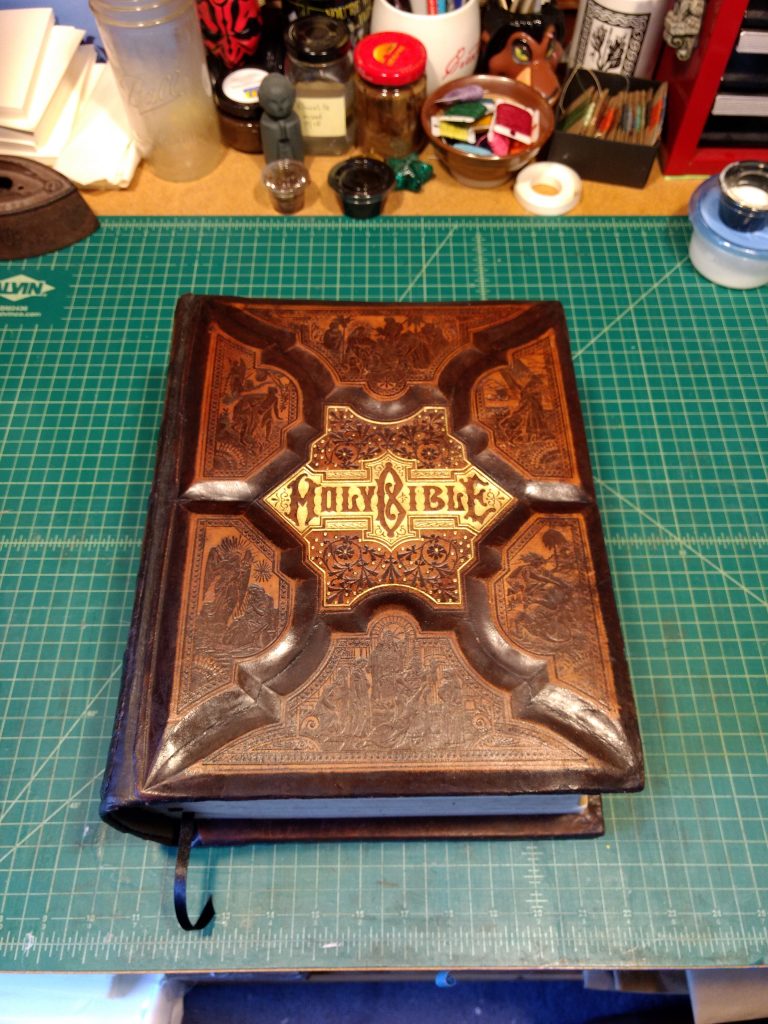
After last year’s Bible repair project, I was a little less nervous taking on a second one. Sophia was very encouraging, and I finished in about half the time, which is great – mostly because I had fewer questions and was a lot less anxious (anxiety = procrastination). I’m really happy with how it turned out, take a look:

Before After

I think my favorite detail is the top of the spine where some brave soul attempted to mend the splitting shoulder by spiral-binding a tear back together (you can see it in the last row of photos). Sadly, the spiral binding didn’t hold and made a big mess of the leather on that shoulder. Thankfully, most of it was removed when I trimmed the shoulders for the new spine, and you can barely see where it was.

There’s something incredibly satisfying in repairing these huge old Bibles. Sophia taught me to do multiple layers of reinforcement on the spine, including a hollow (basically a flattened tube of heavy paper that is glued to the spine of the text block and to the spine of the cover. The inside of the flattened tube is not glued, so the spine has flexibility but also a lot of support), so the finished version is much, much stronger than the original and should last a very long time with a bit of care.

If you have a big old family Bible (or other book!) that needs repair, check out my Bible Repair page and get in touch!
My Year of Bible Restoration

In the summer of 2018, I sat in for a day with fellow Guild of Bookworkers member Sophia Bogle, of Save Your Books at the Rose City Book & Paper Fair. A customer brought Sophia a massive Bible to repair – he didn’t want picture perfect restoration, he wanted it to be functional again. Sophia proposed that rather than her doing it (which would cost quite a bit, as she’s a restoration expert), I would do the repairs with her coaching me (for a lower fee).

So began a digital apprenticeship! She wrote instructions in a shared Google Drive document, we had video calls, and periodically I’d text photos or a video with a question or update. It took almost a whole year (I started a new dayjob, among other things), but we did it! Sophia was really supportive and patient, and I learned a ton.
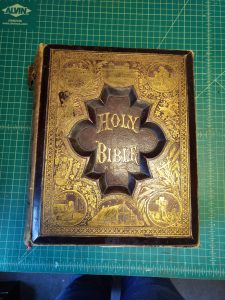
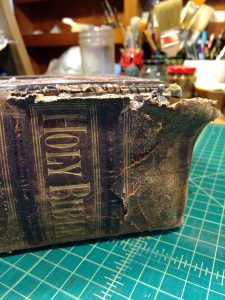
Here’s what the Bible looked like when we got it:

I did the corners like so:

Here are some pix of cleaning the spine of the text block. This involves applying paste to moisten the old glue, then scraping the paste and glue off – very carefully so as not to damage the paper or sewing. It takes for everrrr but is very gratifying to finish.

Here are a few in-progress shots from when I was working on the new spine. Once it was on, I attached the original spine over it.

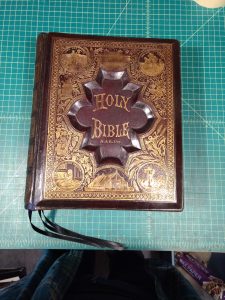
And eventually it was all done!

It was amazing to actually finish the whole thing! I really appreciate all of Sophia’s guidance and help, and am excited to report that this year’s RCB&PF also brought us a new Bible to restore. Hopefully I’ll have learned so much from this project that the new one will take less time.

As an aside, if you look at the first image in the Done set, you’ll see why we nicknamed this project the Moly Bible – that H sure looks like an M at the right angle! 🙂

Before/After: Guru Granth Sahib

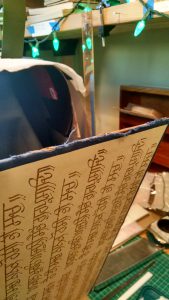
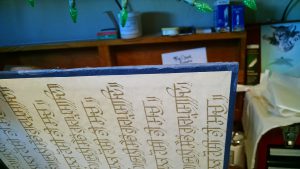
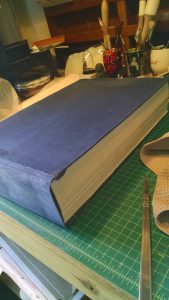
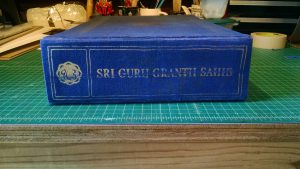
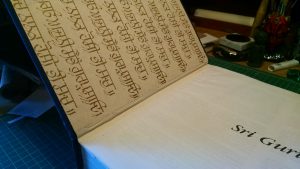
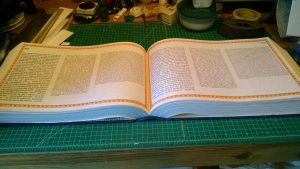
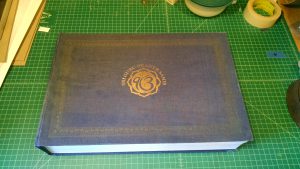
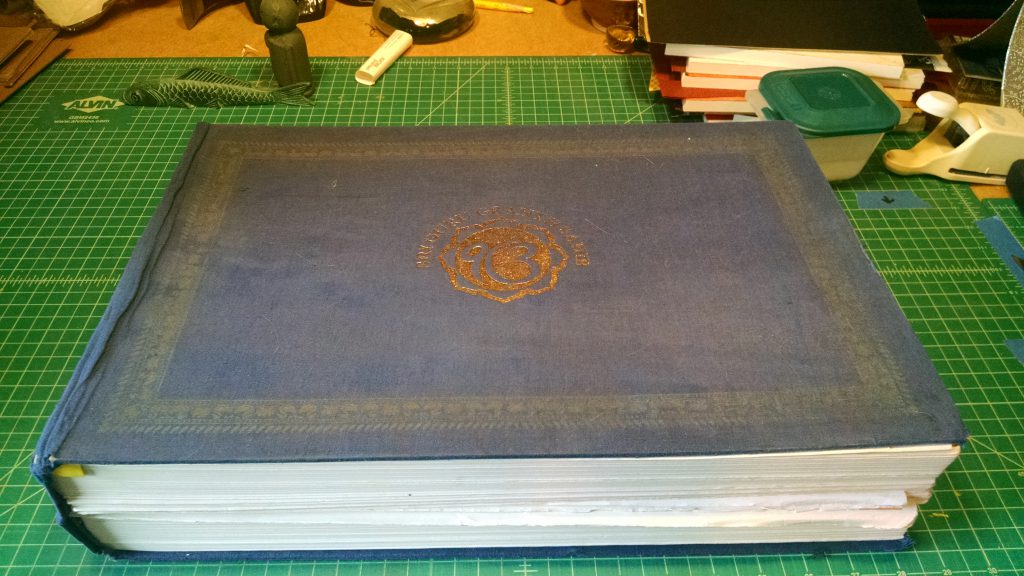
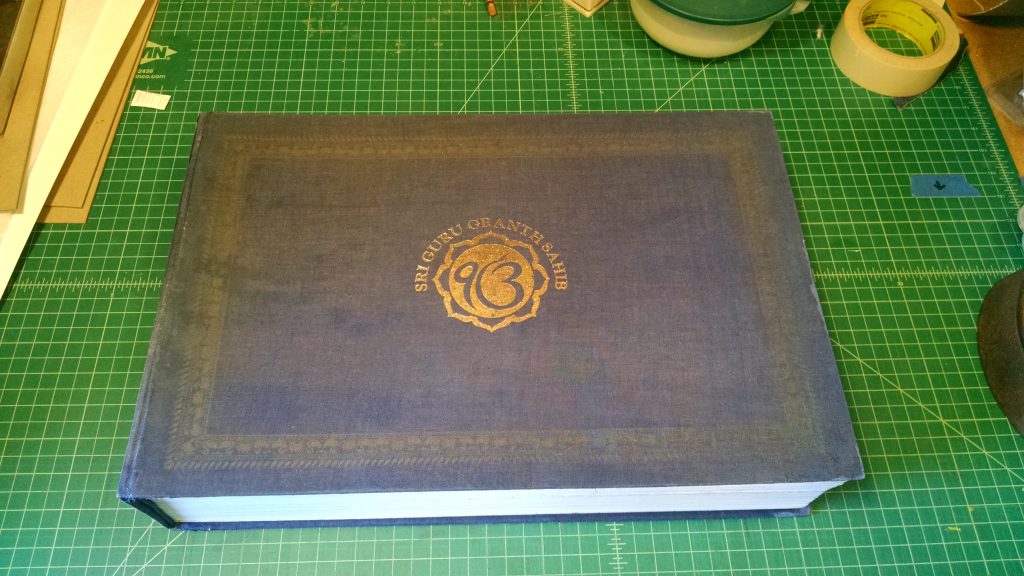
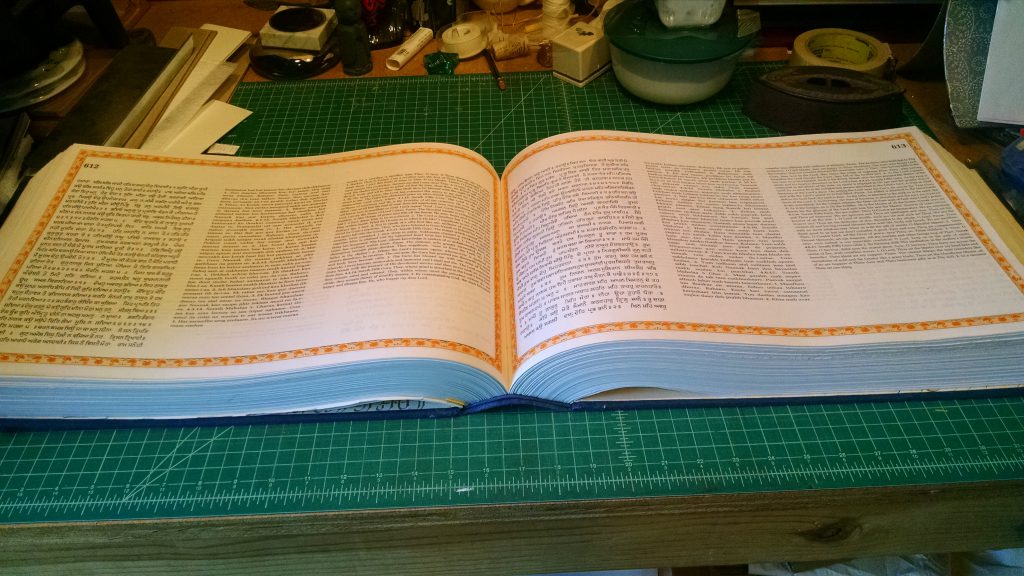
I was recently commissioned to rebind a beautiful copy of the Guru Granth Sahib, the Sikh scriptures. (For more information about Sikhism and modern Sikhs in America, check out SALDEF.org) Its owner is very attached to it, and with good reason: it contains the entire text in three versions, side-by-side! The original, a transliteration of the original, and an English translation. This isn’t an easy book to replace, so he sought me out to repair it. I took one look at it and said yes. It’s beautiful!

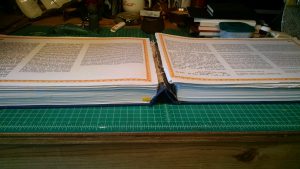
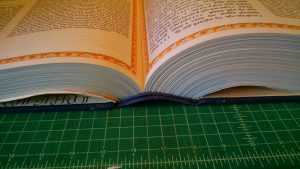
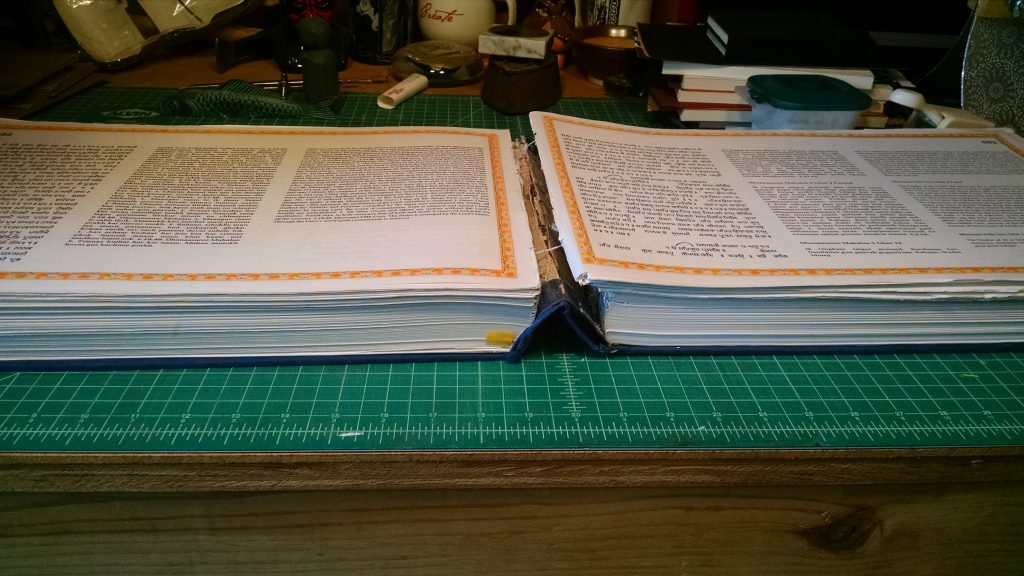
As you can see in the images below, the book had basically split apart into two halves, with only the bookcloth at the spine holding them together. Pages on either side of the split had been damaged with continued use and were starting to come apart as well.

Click any of the photos on this page to enlarge them.

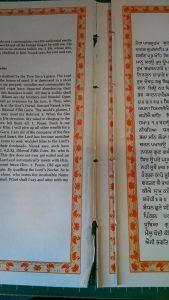
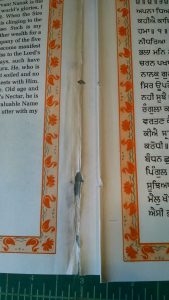
After a careful examination to make sure I knew exactly what needed doing, I cautiously disassembled the book, separating the cover from the text block (and the cover boards from the badly damaged spine). I then disassembled the text block and meticulously examined each individual signature (more than 80!) to see which ones needed repair. Here are a couple closeup before-and-after shots of this process:

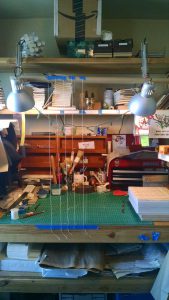
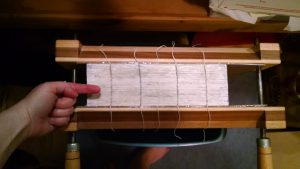
Once that was finished (this was the most laborious part of the whole process, and took me several days), I resewed the text block. Since I don’t have a proper sewing frame on hand, I improvised one, as you can see below. Once done with the sewing, I moved the book into my laying press to be re-consolidated.

As a side note: You can just barely see in the right-hand photo that the press is not on my workbench. In fact, the book is so wide, it was wider than my press is tall! I worked around this by cleaning out a recycling can and carefully putting the press on top. It was tall enough that the pages were able to hang freely like normal. It did mean, however, that I couldn’t work with it on my workbench. I meant to take a photo of the setup, but appear not to have done so.

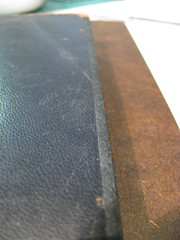
While waiting for layers of paste on the spine to dry, I worked on the cover. Here you can see a quick before/after of an edge of one of the cover boards.

Once the cover boards were ready to go, I reinforced the spine (I used two layers of Japanese kozo, a layer of unbleached linen, made-from-scratch endbands, and finally a one-on-and-two-off cardstock tube, which allows the book to open with less stress to the spine), then covered it with painted-to-match fabric. As you can just barely see in the photos below, the fabric is tucked under the cloth of the cover. In addition, I gently split the bookboard a little, so the fabric is actually inside the cardboard of the cover. This allows for much better holding strength than if I just tucked it under the fabric.

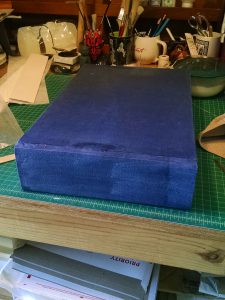
And finally, it was done!


All together, the hinges where the cover meets the spine are held together by two layers of linen and a layer of paper, and the thorough spine reinforcement will reduce stress on the hinges significantly. As a result, the book is much stronger than it was before.

In closing, a quick before/after comparison!

If you have a book that needs rebinding, or even just some basic repair, please get in touch! I really love repairing books.

Case Study: The Murders in the Rue Morgue and Other Tales of Horror, circa 1935

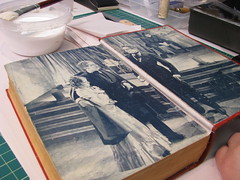
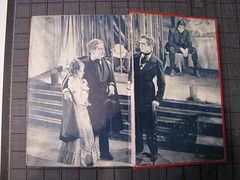
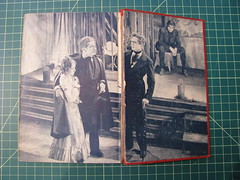
I’m not sure how old this book is — much to my surprise, it has no copyright date! It does, however, have screen shots from the Universal movie of the same name, which came out in 1932, so that gives a rough date. It’s an old Grosset and Dunlap book, which means that while it’s neato in terms of content, it’s el cheapo in terms of binding. I actually took it with me as a possible candidate for my first book repair class, but wound up not using it because it wasn’t going to work well for the set of skills we would be practicing that day. It turned out to be great for the The Restoration of Cloth and Leather Bindings class I took at the SFCB, taught by Don Etherington.

Before

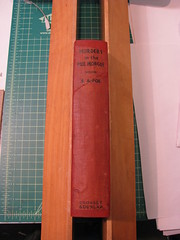
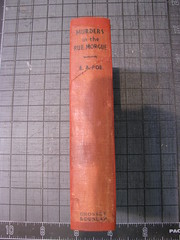
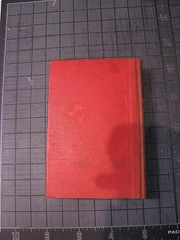
The Murders in the Rue Morgue: Before The Murders in the Rue Morgue: Before The Murders in the Rue Morgue: Before

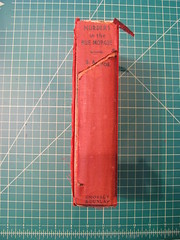
As you can see, pretty much all of the damage is to the spine. The cover boards were still attached, but the spine piece had started to come off (the small piece near the top was completely detached and I’d been keeping it inside the book all this time). The shadows in the lower right corner of each photo are thanks to the weird lighting in the classroom. I didn’t have the time to take away from class to set up for really nice shots. Sigh.

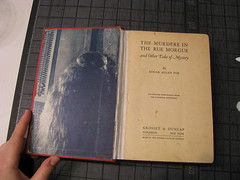
The Murders in the Rue Morgue: Before The Murders in the Rue Morgue: Before

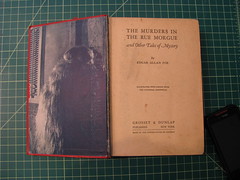
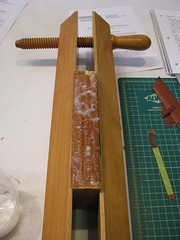
The text block is in good shape, but the front end paper is half-missing and the back end paper had detached. First things first: I removed the cover and cleaned the spine. Here you can see the text block with some gloopy paste on it to soften the old, brittle spine lining.

The Murders in the Rue Morgue: Cleaning the spine

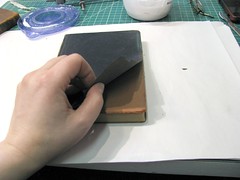
While waiting for the spine lining to soften, I worked on the cover boards. First I had to lift some of the book cloth on the outside, then use masking tape to remove some of the book board’s thickness. This way when I put the cover back together with new, strong fabric for the spine, there won’t be a lump under the book cloth.

The Murders in the Rue Morgue: Neat trick The Murders in the Rue Morgue: Neat trick part 2

And here’s the text block after the spine lining was removed. You can see that the glue is still pretty thick.

The Murders in the Rue Morgue: Cleaner spine!

After another round of softening, I got most of the glue off, and it looked like this:

The Murders in the Rue Morgue: Ready!

Time to attach the new, stronger spine lining cloth! This is Irish linen, which is strong and light.

The Murders in the Rue Morgue: Irish linen to line the spine

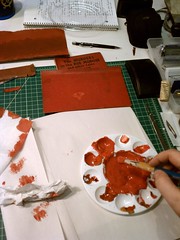
While waiting for the paste between the text block and linen to dry, I started mixing paint to match the cover. This is, weirdly, one of my favorite parts of the process. It takes forever, but it’s really rewarding when you’re done.

The Murders in the Rue Morgue: Color mixing, woo!

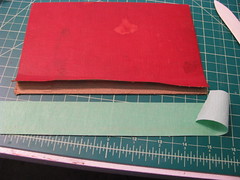
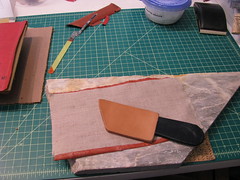
Once it was mixed, I painted a piece of Japanese paper with the paint, let it dry, and then glued it to a new piece of Irish linen. Once that was dry, it was time to bevel one edge, making it nice and thin so it would go under the book cloth flap I lifted earlier. There are two ways to bevel it, with a leather-paring knife (left) or with a sanding block (right).

The Murders in the Rue Morgue: Paring the rebacking fabric The Murders in the Rue Morgue: Paring the rebacking fabric 2

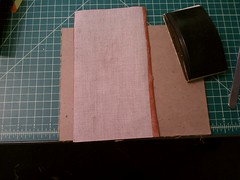
Here’s the reassembled cover from the inside. The painted Japanese-paper-and-linen spine is attached to the cover boards and a new spine stiffener is in the center.

The Murders in the Rue Morgue: Cover is ready!

The cover is attached by gluing the spine stiffener to a hollow already glued to the text block (unfortunately, I neglected to photograph that part). A hollow is a tube of strong, flexible paper pressed flat and glued to the text block’s spine. By having the tube, the book can still open nicely and have a gap between the text block and the spine of the cover! It’s a neat technique, and one I hadn’t done before this class. I’ll try and get a good series of photos of how it works another time. Once the cover was attached to the book, the ends were tucked in top and bottom. Here’s a closeup!

IMG_7875

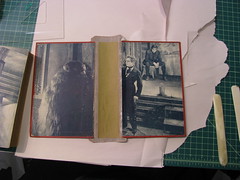
This next shot shows my favorite tool of ALL TIME! Well, maybe not of all time, but certainly one of my favorite tools. It’s tricky to see, but the metal gizmo there is holding the end paper up a bit from the cover so that I can glue down the linen spine liner and the nice Japanese paper hinge that will join the frontmost page of the text block to the cover.

The Murders in the Rue Morgue: BEST TOOL EVER

Here’s how the back end paper looked after getting that treatment. It probably would’ve looked a bit nicer if I’d tinted the Japanese paper instead of leaving it white, but I didn’t realize how big a difference it would make until it was too late. Note for next time: dye the hinge paper!

The Murders in the Rue Morgue: Interior hinge

Here’s a closeup after I reattached a long strip of end paper that had separated along the hinge:

The Murders in the Rue Morgue: A finishing touch

At this point, all that was left was to reattach the original spine fabric from the cover!

The Murders in the Rue Morgue: Finishing the spine!

All done!

After

IMG_7869 The Murders in the Rue Morgue: After IMG_7871

And a look at the inside.

IMG_7872 The Murders in the Rue Morgue: After

Overall, I’m pretty happy with how this one turned out. I learned some new tricks while I was working on it, and have a little mental list of things I’ll do better with next time. Plus, I ordered my own metal-lifter-holder-gizmo from Don once I realized how awesome it was. Hooray! Got a book of your own that could use this treatment? Check out my Book Repair services page or get in touch!

Case Study: The Collected Poems of Rupert Brooke, c. 1915

Let’s take a look at one of the books I worked on in the latest class I took at the SFCB, The Restoration of Cloth and Leather Bindings taught by the one and only Don Etherington.

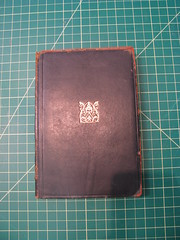
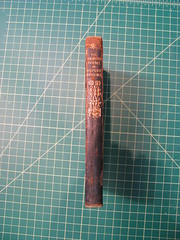
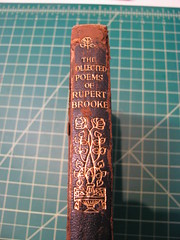
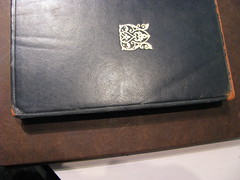
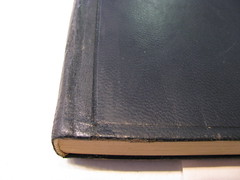
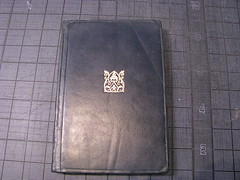
Here’s the book before. Notice that while it has a fair amount of normal wear for a cheap leather-bound book of its period, it’s not in terrible shape. It is, however, starting to get red rot at the joints where the leather’s worn. That’s no good, and will progress if unstopped. (Click the photos to see them larger on Flickr.)

Before

The photos are: Front cover, spine, spine closeup, back cover, and a look at the leather lifting off the back cover.

The Collected Poems of Rupert Brooke: Before The Collected Poems of Rupert Brooke: Before The Collected Poems of Rupert Brooke: Before The Collected Poems of Rupert Brooke: Before IMG_7780

In the last photo, you can see how the leather was actually disconnected from the board! It flapped around pretty badly.

Thankfully, the text block itself and the inner hinges (the paper that is glued to the cover and also part of the text block) were in top-notch shape, so I only had to reinforce the leather at the hinges, glue the leather flap down again, and do some repairs around the edges where the leather had worn through or nearly worn through.

Working

Here are some in-progress photos!

IMG_7781

In this shot, I’m using mylar film to protect the end papers while I glue black Japanese paper around the edges of the cover. This lets me put the paper exactly where I want it, and not worry about damaging the endpapers. Here’s another look at the mylar in action:

IMG_7783

After I carefully slit along the edge of the mylar, I’m left with exactly the right coverage, as you can see here. The Japanese paper just covers the places where the leather was worn away, no more. Right now the paper looks pretty matte in finish, but I’ll take care of that later on in the process.

IMG_7784

Here’s a look at the edges of the cover when I’m partway through restoring it. If you look back at the “before” photo, you’ll see that the whole long edge was very exposed. Here, that is all covered with Japanese paper.

IMG_7786

Here’s a closeup of a neat trick Don taught us: you can use tooling to help disguise the edges of the Japanese paper! For this, I carefully lined up the straight-cut paper with a tooled line in the leather.

IMG_7788

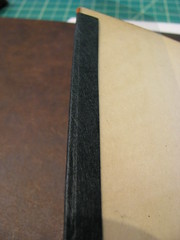
I didn’t take many photos during the finicky process of working on the spine, unfortunately, but here’s the finished product! The Japanese paper covers from the tooled line on each cover up to about a quarter of an inch of the spine. I carefully trimmed it so as not to cover the beautiful gold toling. As an experiment, since this is a book for me and not for a client, I cut one edge along the undecorated half of the spine straight, and feathered the other a bit. You can see here which has a more natural look. I took this photo after I treated the cover and Japanese paper with Klucel-G and Renaissance Wax, both of which serve to protect the materials and give the paper a more leathery look. As a bonus, they stop the red rot that had set in along the spine in its tracks!

IMG_7843

Here’s a closeup of the lower part of the spine. You can see how I used the tooling to hide the edge of the Japanese paper again.

IMG_7846

Last but not least, a final shot of the front cover, with all the edges restored. This will last well for a long time — Japanese paper is very strong and flexible, and can stand up to a lot of abuse! It will be quite a while before this book needs more work, provided no accidents befall it in the meantime.

The Collected Poems of Rupert Brooke: After

I had a lot of fun working on this book, especially because its cover reminded me of a lot of family Bibles I’ve seen over the years, their black leather bindings decaying and hinges starting to go. I’m looking forward to helping many of those books look their best as the years go by.